Parental Note: This experiment is geared towards ages 8 and up. The project will require adult assistance with using an Xacto knife and carefully pouring water so as not to spill. This experiment involves flowing water and should be performed in a location that can get wet (e.g. in a bathtub, shower, or outdoors), or towels should be used to prevent water from spilling on the floor.
Additional Note: This experiment will take roughly 1 hour to complete.
Experiment Overview:
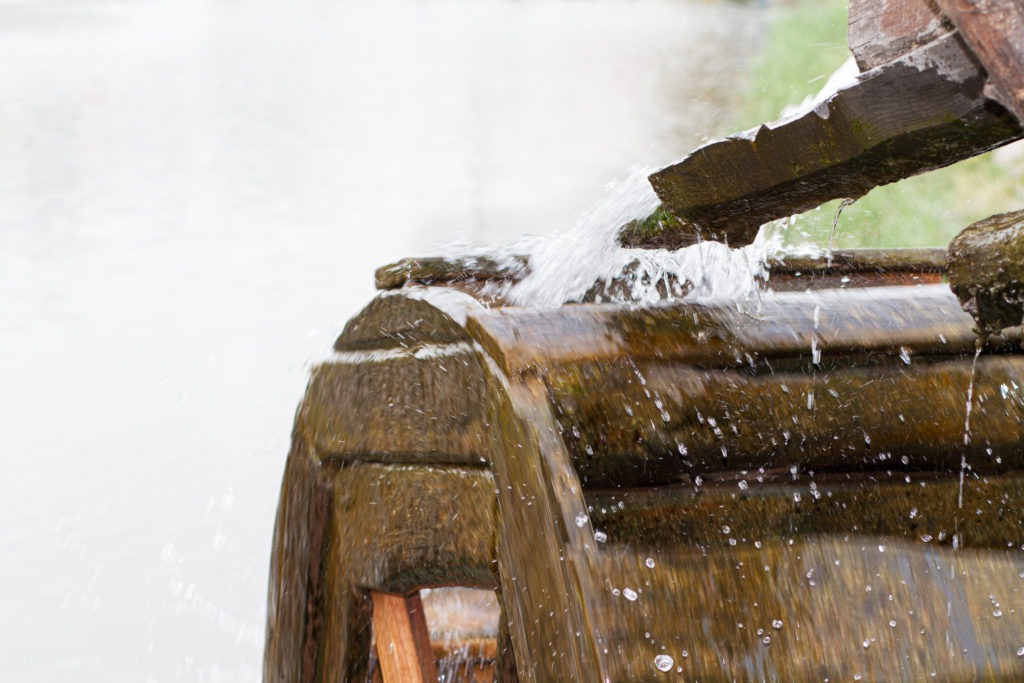
Water is a natural resource that is essential to life on Earth. Water is also very useful to people because flowing water creates energy that can be captured and used to perform work. Traditionally, a water wheel is used to make use of the energy produced by flowing or falling water (such as in a river or a waterfall). Throughout human history, people have found many ways to use water wheels to carry out mechanical work, such as grinding corn, powering sawmills, and even lifting large loads.
Water is considered a renewable energy source, which means the energy came from a source that is not depleted when used.
In this experiment, you will demonstrate the power of water by converting the kinetic energy contained in moving water to mechanical energy to lift an object off the ground. You will compare how much water is required to lift objects of different weights.
Before beginning, think about the following questions and write down your predictions:
- What you think will happen when you pour the water over the blades of your water wheel?
- Which object do you think will require more water to lift: the paperclip, nail, or heavy bolt?
Experiment Materials:
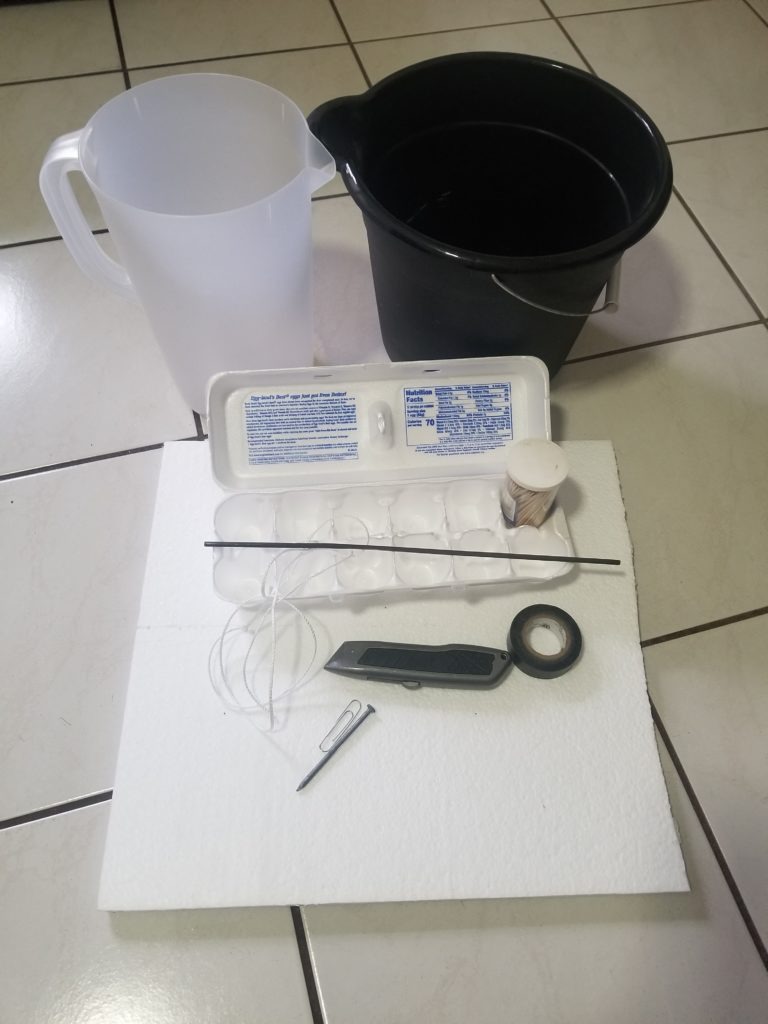
- 1 large piece of styrofoam
- 1 package of toothpicks
- 1 egg carton
- 1 wooden dowel
- Tape
- Scissors
- Xacto knife
- String
- 1 paperclip (or other “lightweight” object about 1gram)
- 1 three-inch nail (or other “medium” weight object about 6 grams)
- 1 heavy bolt (or other “heavy” object about 12 grams)
- 1-gallon bucket
- 3-liter pitcher
Experiment Process:
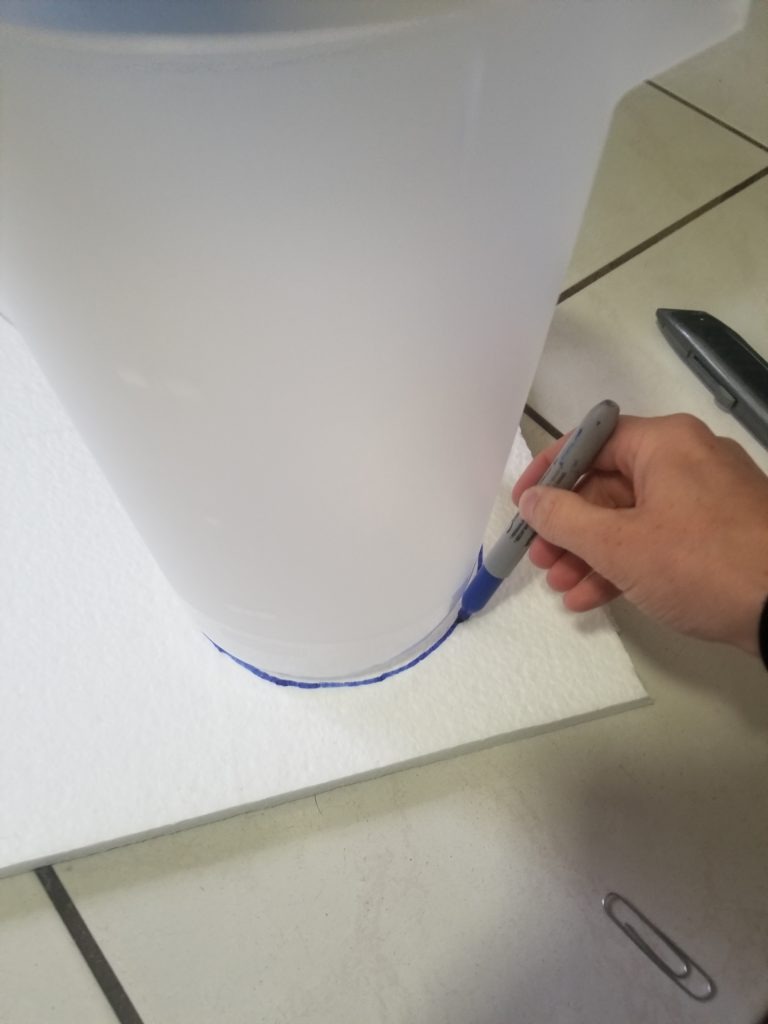
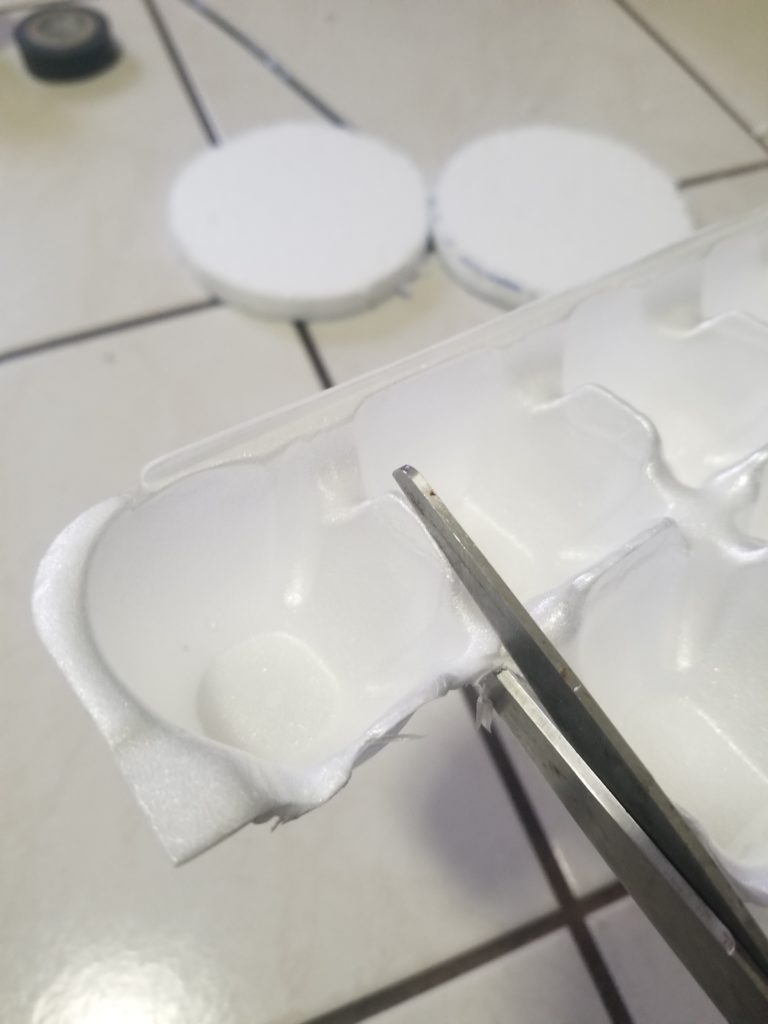
Step 1
To create your wheel, use a sharpie and the bottom of the pitcher to trace a circle on the piece of tyrofoam. Cut out the circle with an Xacto knife (ask an adult for help with this step). Create a second circle following the same steps as above.
Step 2
To create the buckets on your water wheel, individually cut out each egg cup in your egg carton. You will need anywhere from six to eight, depending on the diameter of your circles.
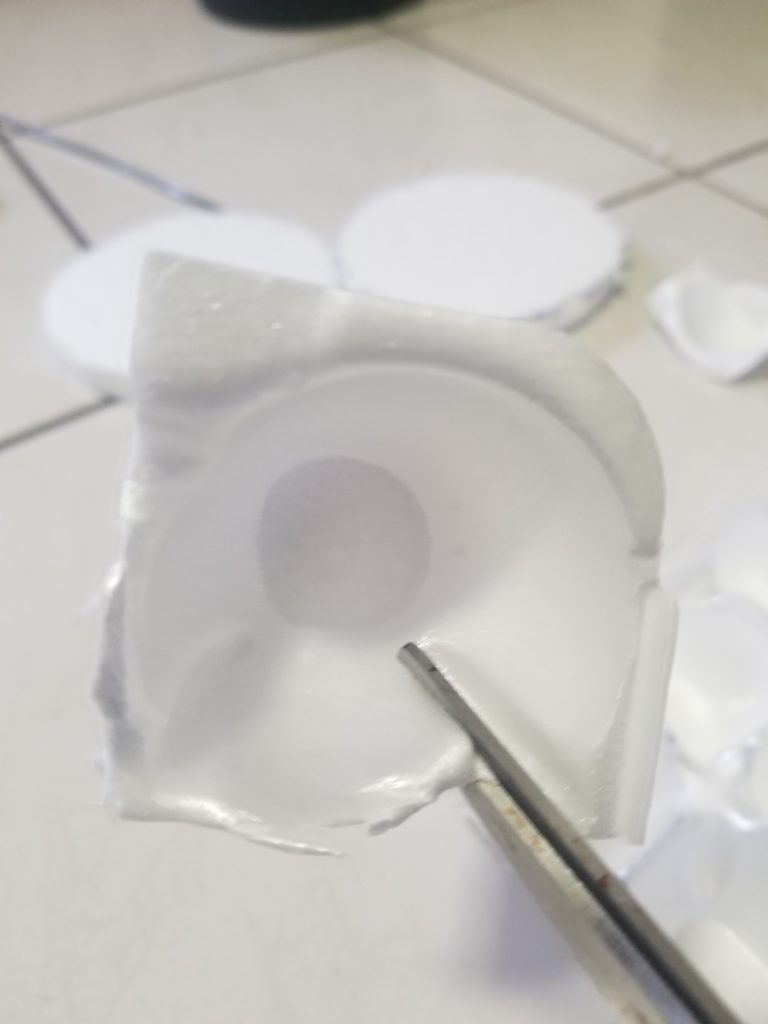
Step 3
You may need to do some trimming to get the right shape.
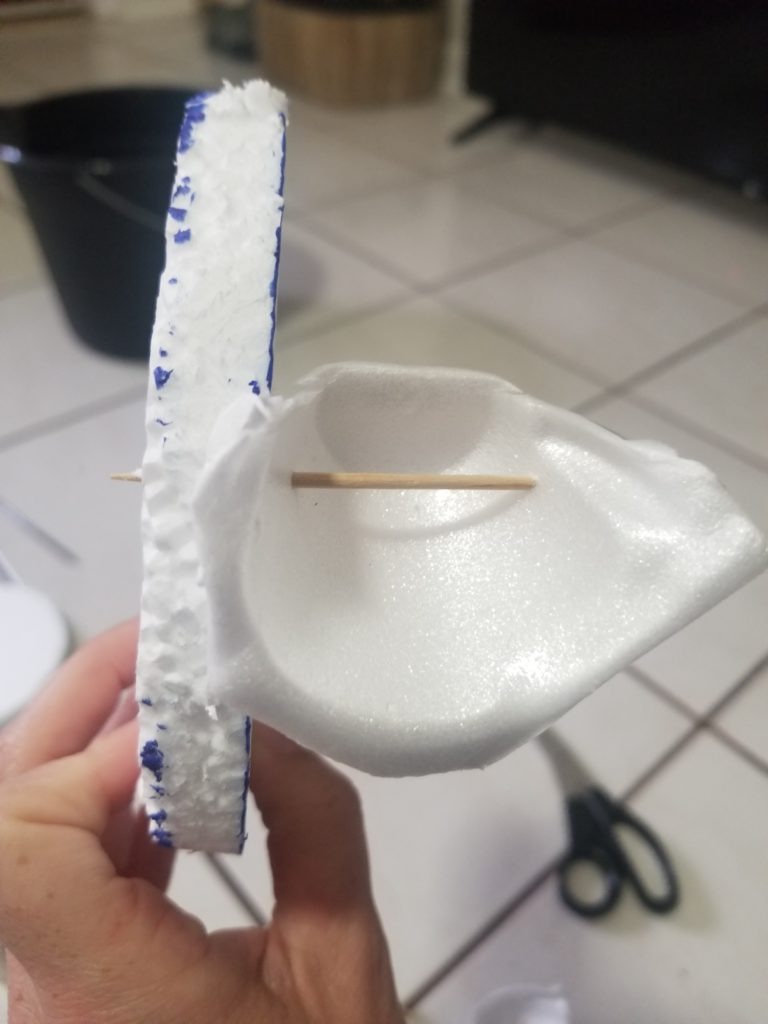
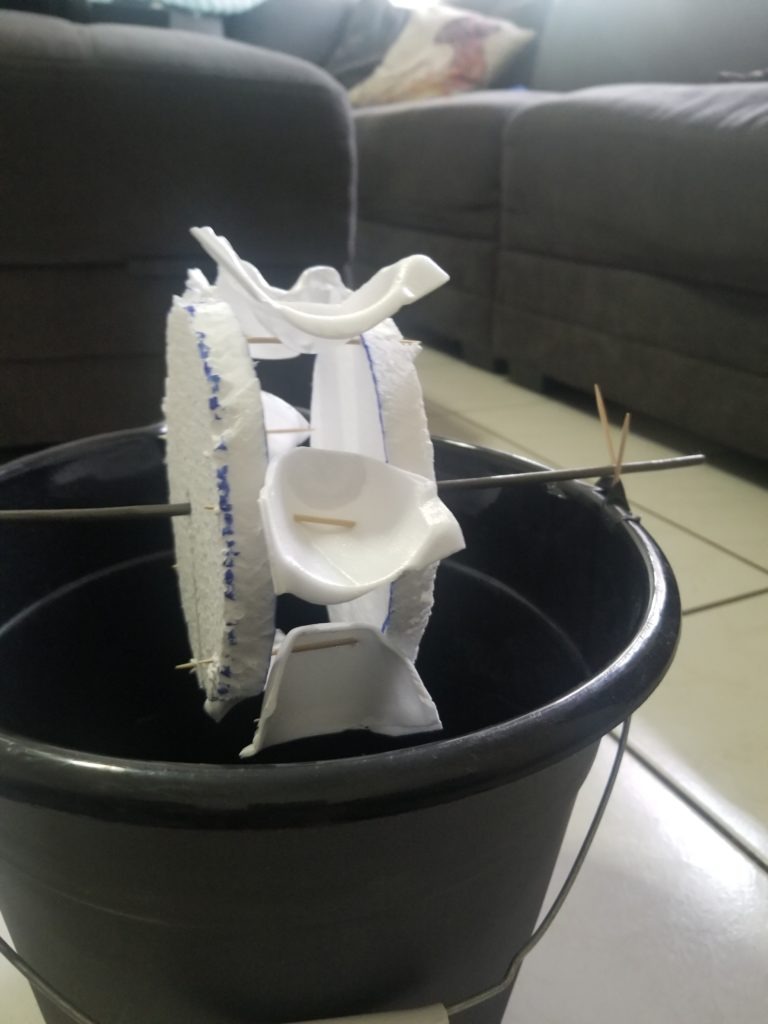
Step 4
To attach your buckets to your wheel, take a toothpick and slide it through each side of the bucket near the base. Poke one side through one of the circular styrofoam pieces that you cut out. Do this for each bucket, and space them evenly apart. Each toothpick should be about one inch apart.
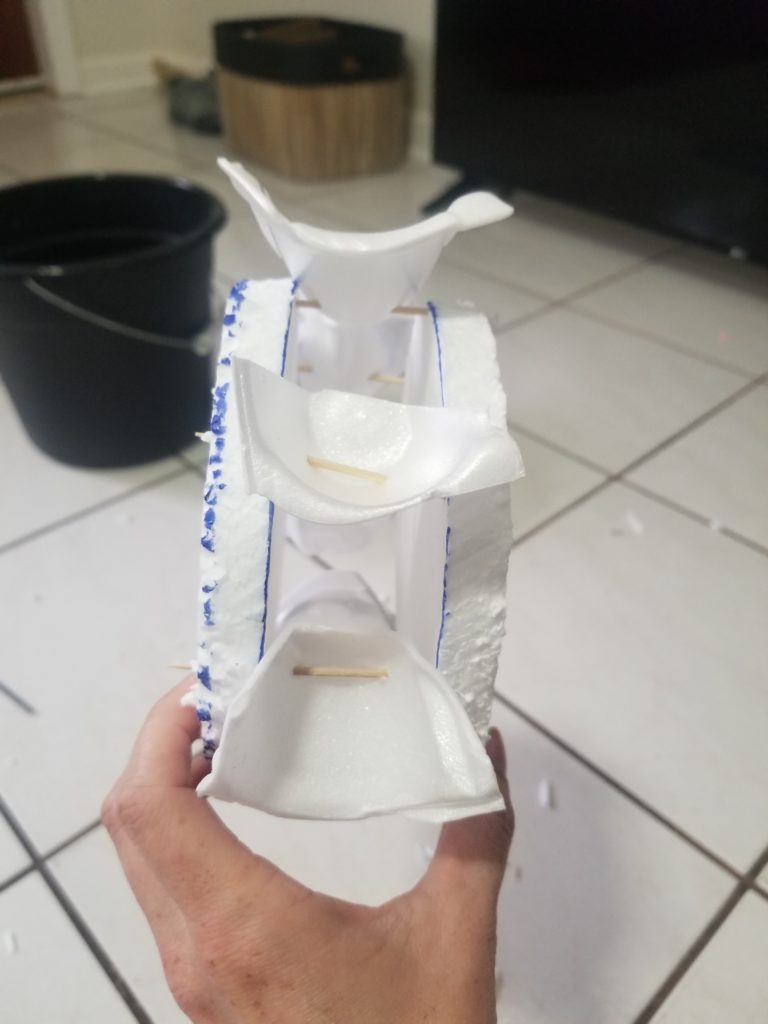
Step 5
Stick the other end of the toothpicks into the other circular Styrofoam piece to complete your wheel design.
Step 6
To create the hub that the wheel spins on, stick a wooden dowel through the center of your wheel. Make sure it goes all the way through the center of both Styrofoam pieces and adjust the wheel so it is centered on the hub. Use tape to attach the wheel to the hub on both sides.
Step 7
To create the frame for your water wheel, crisscross two toothpicks and tape them on one side of the bucket (the spot where the handle attaches to the bucket is a good option). Do this on both sides. Let each end of the hub rest within the frames.
Step 8
Tie a piece of string tightly to the hub. If you can’t get a tight enough knot, use tape. The string should wrap around the hub when it spins. Cut the string so it just reaches the floor, and tie a paperclip to the loose end.
Step 9
Time to test out your water wheel! Fill your pitcher with three liters of water, place a towel under your bucket or go outside in case you spill or splash. Slowly start pouring water onto your water wheel (in the buckets) in a steady stream. Stop when the paperclip reaches the top.
Step 10
Measure how much water you used to get the paperclip to the top (subtract how much water is left in the pitcher from how much you started with). Record your findings on a piece of paper.
Remove the paperclip and attach your second, slightly heavier object to the string. Repeat steps nine and ten. Do this again for your third object as well.
Conclusions:
- How much water was required to lift the paperclip (or another lightweight object of your choice)?
- How much water was required to lift the nail (or another object of your choice)?
- How much water was required to lift the bolt (or another object of your choice)?
Conclusions:
Water is a renewable resource, and the energy of water in motion in rivers or waterfalls can be used to do mechanical work. In this experiment, you were able to lift several objects by pouring a stream of water over your waterwheel. You may have noticed that it took a bit more water to lift the heavier objects because more energy was required to do the work. Although more water was used, it is still all ‘reusable,’ and no resources were depleted to do that work.
Extension:
Test out different designs for your water wheel. You may wish to try using plastic spoons as the buckets or use two plastic plates for the wheel structure. See if you can design a water wheel that is more efficient and requires less water to perform the same amount of work!

")

Want to learn more about Community Solar?
Our solar specialists can provide a free consultation.
Get Started