
Parental Note: This experiment is geared towards ages 7 and up to be completed independently. The project may require some support to gather materials and use a hole punch.
Additional Note: This experiment will take roughly 45 minutes to complete; this calculation takes into consideration both setup time and the time needed to collect and analyze data.
Experiment Overview:
In order for wind farms to work efficiently and safely, it is important to be able to accurately measure wind speed. An anemometer is an instrument used to measure wind speed. There are a few different types of anemometers, but the cup anemometer is the most basic. This instrument uses three or four cups mounted on a vertical pole (axis) and all facing the same direction. As the wind blows, they “catch” the wind and begin to spin around the axis. The faster the wind blows, the faster the cups will spin around the axis. The instrument counts the number of rotations, or turns, which is used to calculate wind speed.
An anemometer is used by meteorologists to study weather patterns and is also an important tool used on wind farms. When anemometers are attached to the top of wind turbines, the turbines can read this data and be programmed to automatically adjust the angle and direction of the turbine’s blades to make the best use of the wind for efficient energy production.
Now it’s time to make your own anemometer! You are going to use some simple materials to make a four-cup anemometer and use a fan or natural wind to test out your instrument.
Experiment Materials:
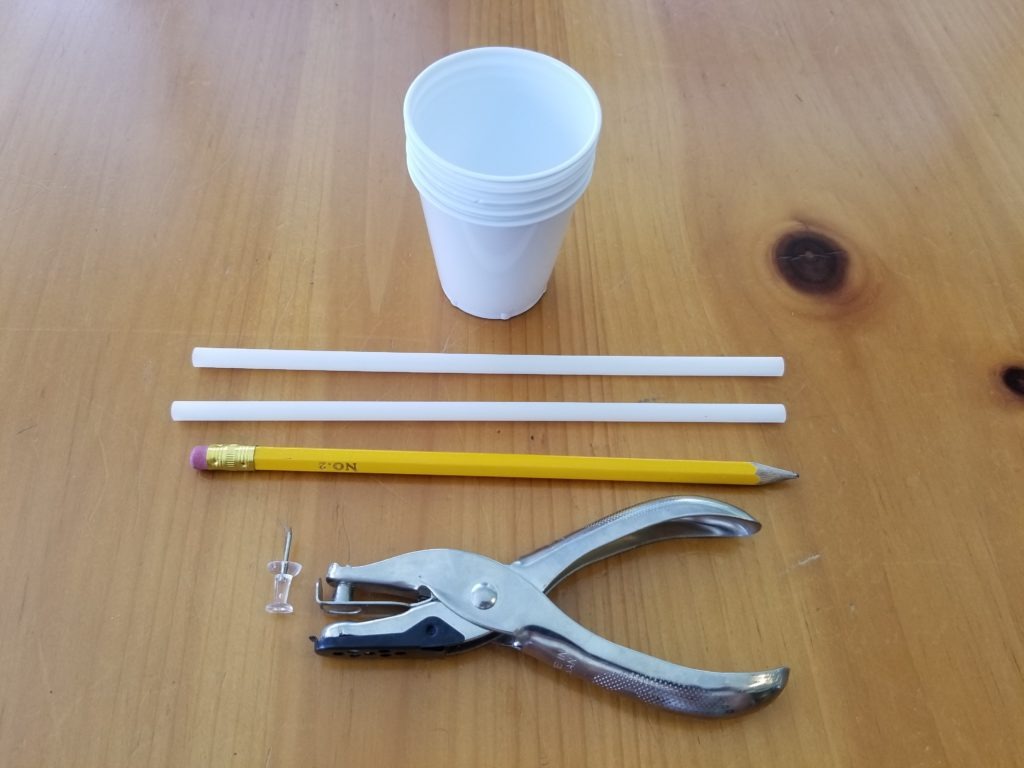
- Two plastic straws (or your favorite non-plastic biodegradable alternative)
- Five 3oz paper cups (can also use plastic, but works best with paper)
- One pencil with an eraser
- Hole punch
- Pushpin/ thumbtack
- Sharpie marker
- Small fan
Experiment Process:
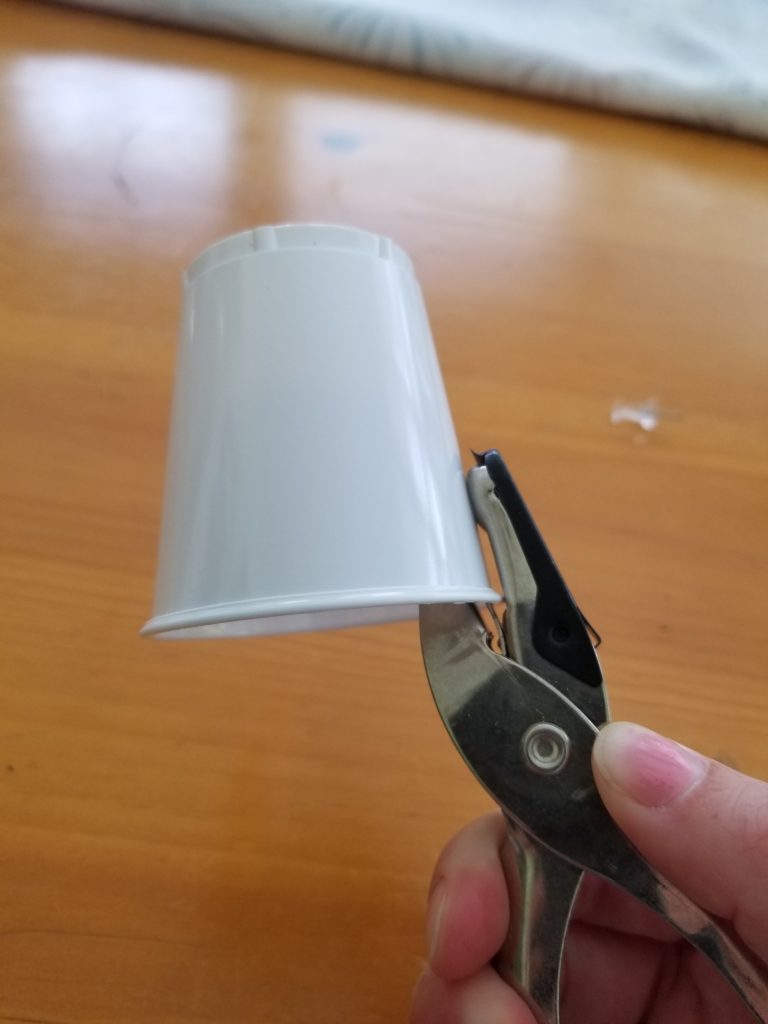
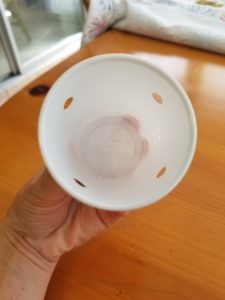
Step 1
Use the hole punch to create four evenly spaced holes in the cup that will be your center cup supporting the axis.
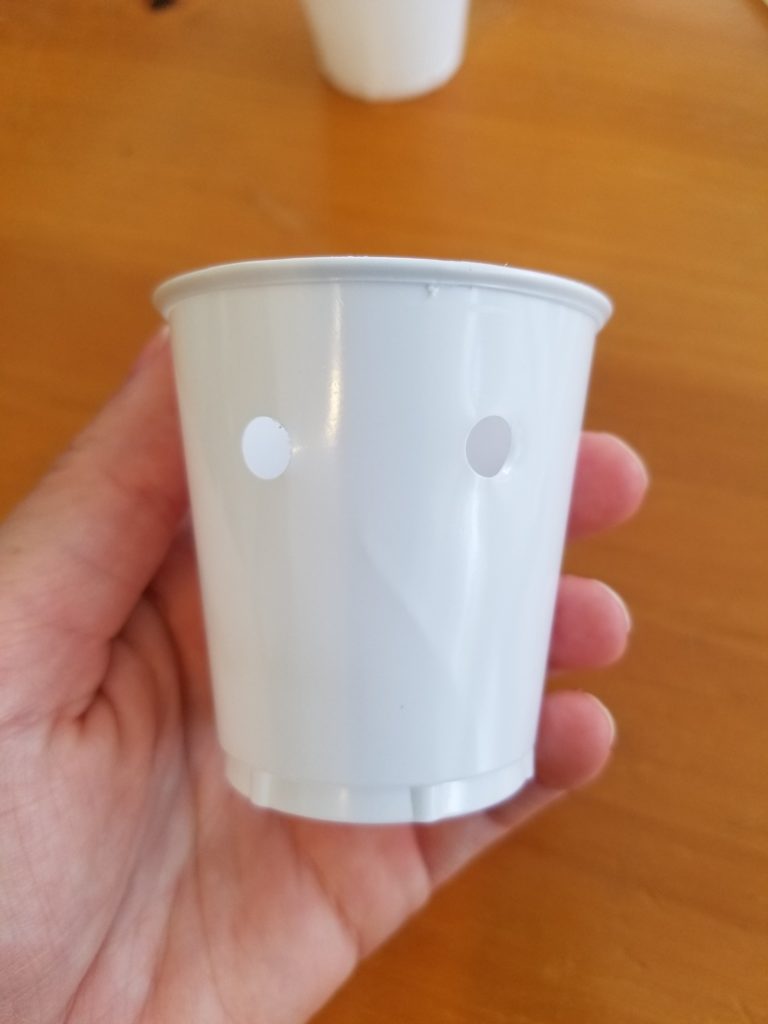
Step 2
In each of the remaining four cups, use the hole punch to create two side-by-side holes.
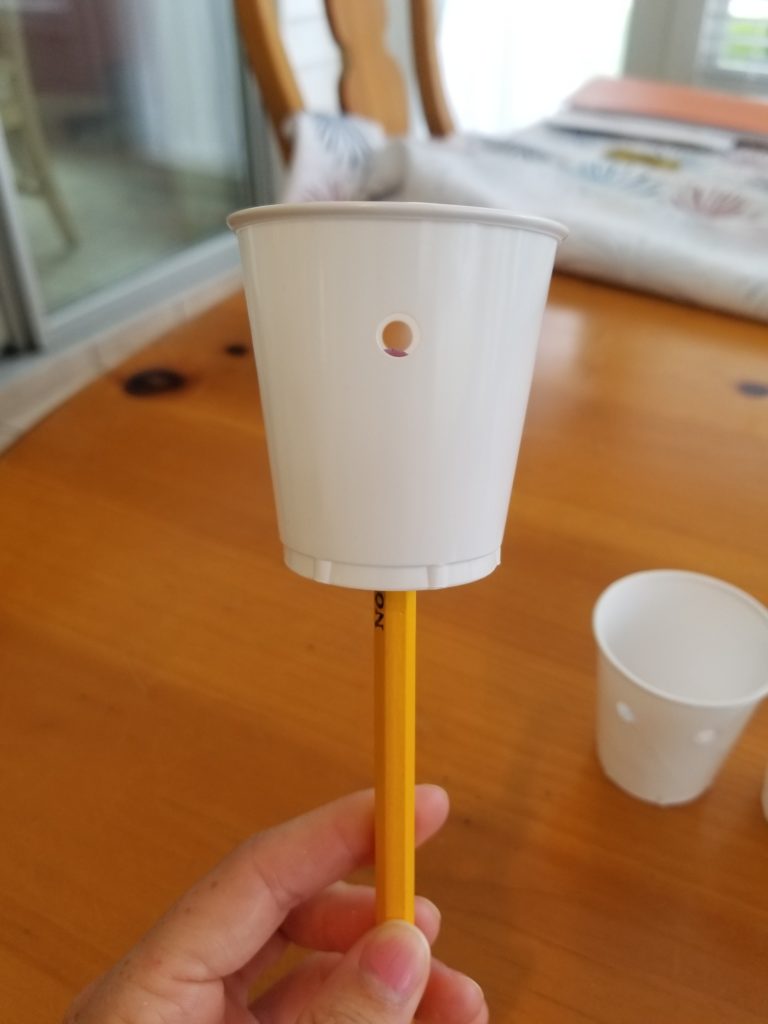
Step 3
Poke a hole through the bottom of the center cup and slide the pencil through so the eraser end is inside of the cup. If you are using a plastic cup, you may need to ask an adult for help using an X-Acto knife to make a smooth hole for the pencil to fit through.
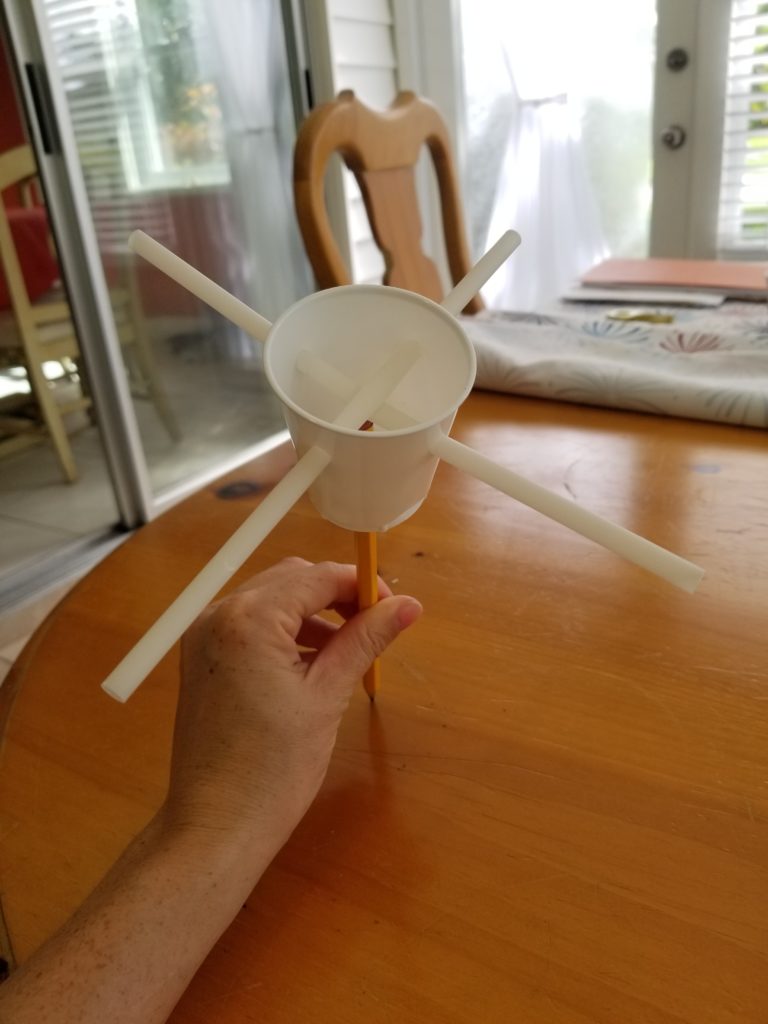
Step 4
Criss-cross the straws through the holes of the center cup.
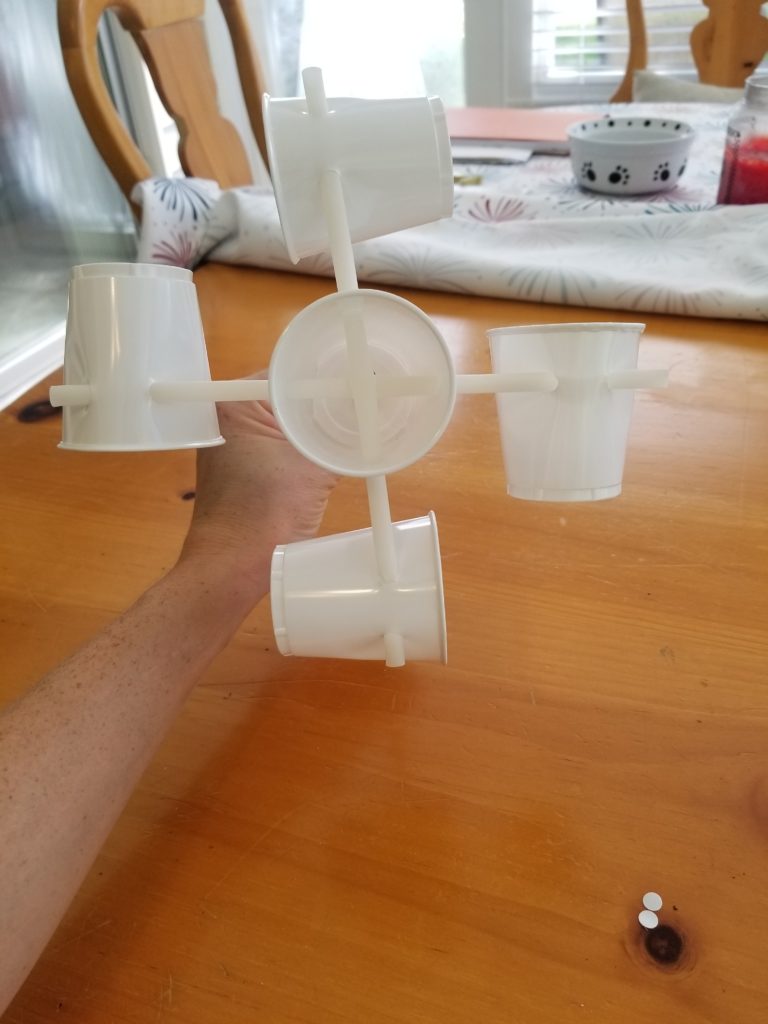
Step 5
Thread the ends of the straws through the holes in the remaining four cups. Make sure the cups are all facing the same way.
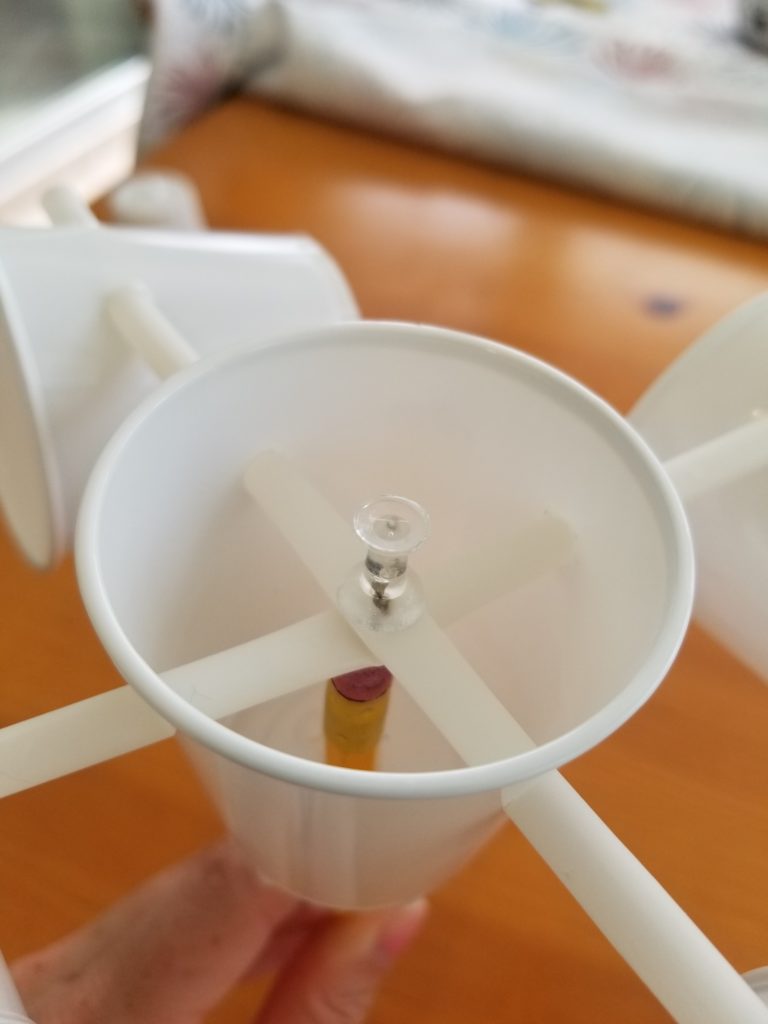
Step 6
Place the thumbtack through the straws and gently into the eraser head. Wiggle the thumbtack around a bit to loosen it up. Do not push the thumbtack too far down into the eraser – this could cause too much friction and prevent your instrument from spinning.
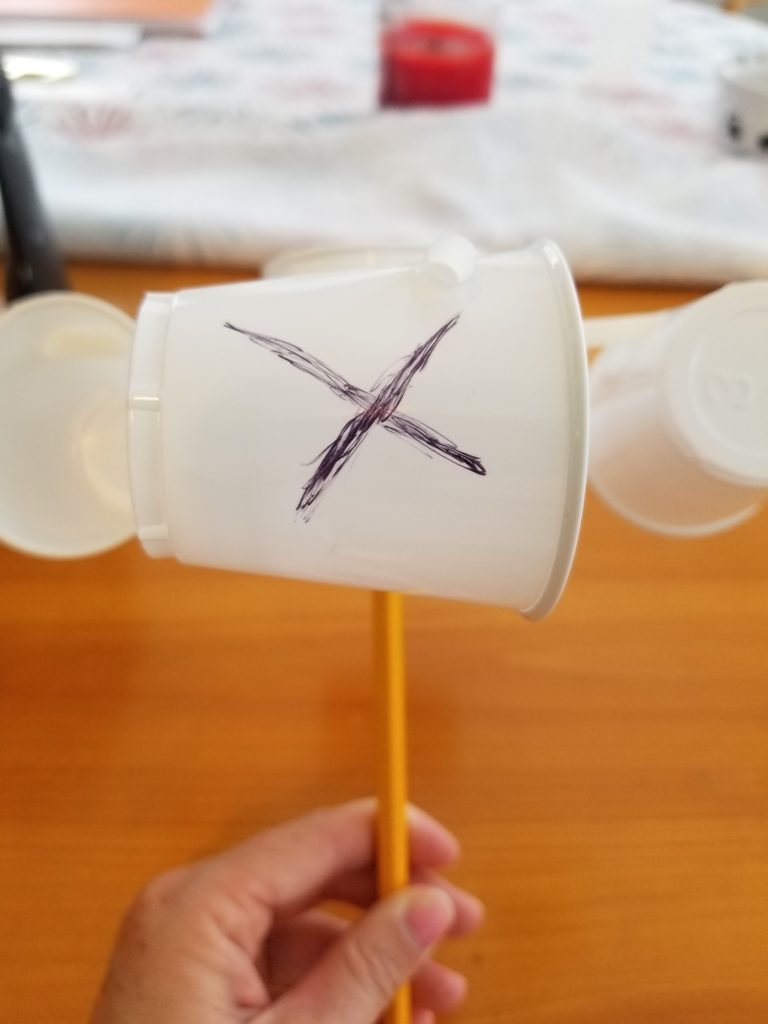
Step 7
Using a sharpie marker, make an “X” on one of the cups. You will use this place marker to count the number of rotations made by your anemometer.

Step 8
Use a fan or if it is a windy day, go outside to test out your instrument! Make any adjustments needed so that your instrument spins freely without getting stuck.
Step 9
Place the fan on the lowest setting and use a stopwatch to count the number of times the cup with the “X” passes in front of you within 30 seconds. After 30 seconds, record your number and multiply by two to calculate the number of rotations per minute (rpm). Rpm is the number of times the blade spins by in one minute.
Conclusions:
Share Your Results:
- What was the rpm that you calculated?
- How might the homemade anemometer you made be less accurate than an one used by a meteorologist?
Extension:
If your fan has more than one speed, use your anemometer to measure the wind speed on the different settings and make some comparisons. You can also create your own experiment to look at changes in the wind speed outside of your house over one week. Check the wind at the same time each day and make observations about whether or not the wind speed has increased, decreased, or stayed the same throughout the week.

")

Want to learn more about Community Solar?
Our solar specialists can provide a free consultation.
Get Started