Parental Note: This experiment is geared towards ages 10 and up. The project may require some support to gather materials, use a straight pin and glue parts of the wind vane together.
Additional Note: This experiment will take roughly 1 hour to complete.
Experiment Overview:
Wind is a form of kinetic energy, which is energy in motion. As the sun heats the various surfaces of the planet, it does so somewhat unevenly. In the places that are warmed the most (such as at the Equator), the air rises, leaving less air near the surface of the Earth than in surrounding areas that did not get as warm. In places with warm air that rises, the air molecules become more tightly packed together, which increases the air pressure. Air moves from places with high pressure to places with lower pressure. As the air whooshes from place to place due to changes in pressure, we call it wind! You cannot see the wind but sometimes you can feel it when it moves or see the leaves on trees rustle as it blows.
The wind blows all over the planet due to the changes in pressure mentioned above, but certain areas have land features that can make the wind blow faster or more frequently or slower and less frequently. In some places, there is a difference in the amount of wind from day to night, while other areas have great seasonal variation from summer to winter. Places such as prairies, mountains, and coasts often experience stronger winds. Local winds can also change direction and speed suddenly, if land surfaces become uneven or if large forests or tall buildings and skyscrapers are in their path. Prevailing wind is the typical direction that the wind blows in a particular location during a certain time of year. Some areas have more predictable wind patterns than others.
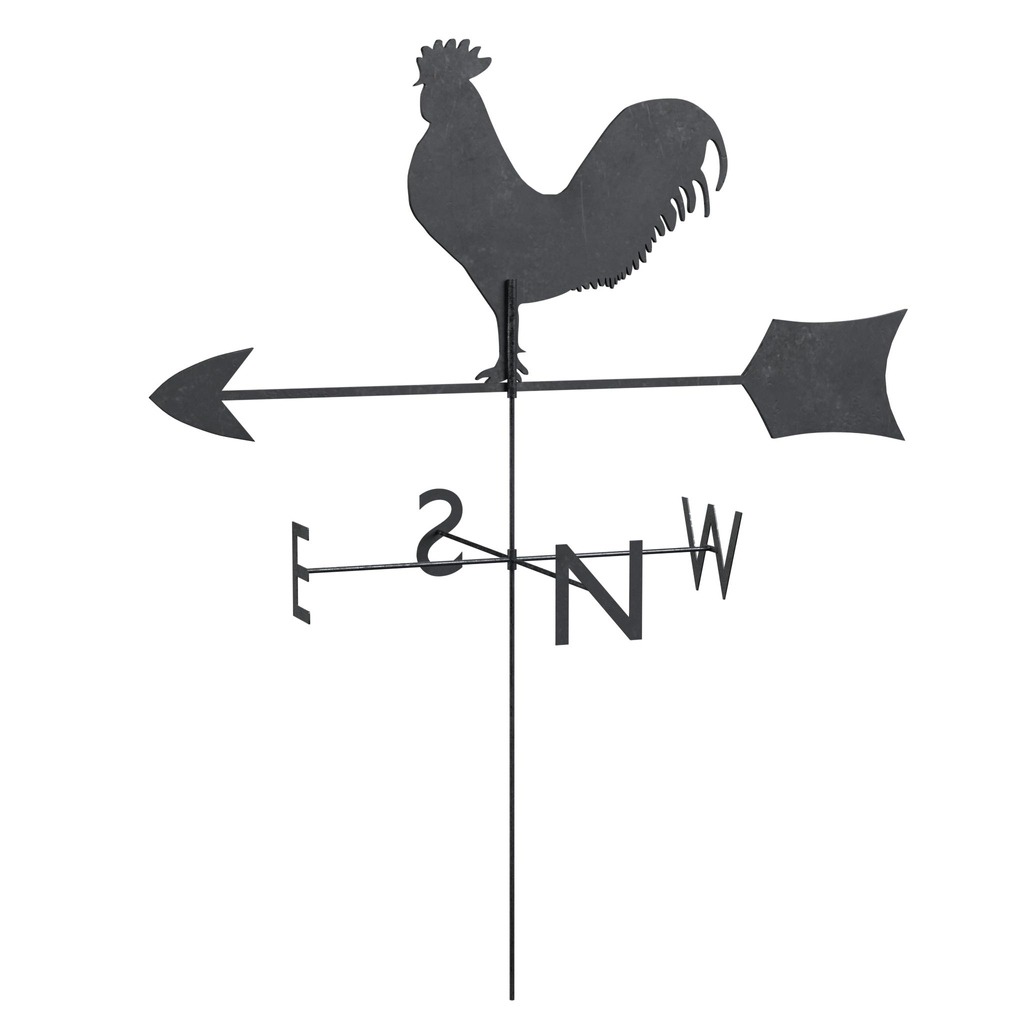
Knowing which way the wind is blowing is important information for things like weather prediction, aviation and wind energy production. In meteorology (the study of weather), winds are often referred to according to their strength, and the direction from which the wind is blowing. A wind vane is an instrument used to measure the direction of wind. In order to find a good location for a wind farm, scientists must know what the wind conditions are like in a particular location. By collecting wind data like this over a longer period of time, it is possible to find out the prevailing wind conditions for different seasons and throughout the year.
In this activity, you will make a homemade wind vane to learn about the wind conditions around your home. You will also use online resources to compare the results of your observations to and learn more about the prevailing wind conditions in your area.
Before beginning, think about the following questions and write down your predictions:
- Without looking online or at any other resources, look outside and make a prediction about which direction the wind is blowing right now: ____________.
- What clues did you use to make this prediction?
Experiment Materials:
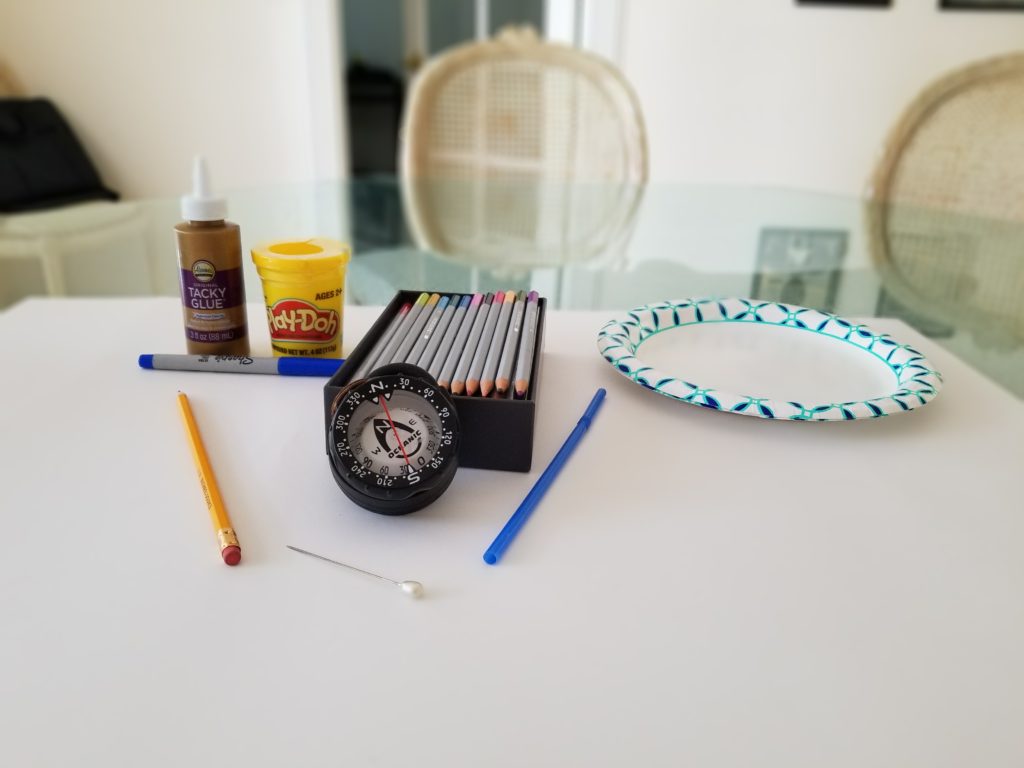
- 2 Paper Plates
- Scissors
- Poster Board
- 1 Plastic Drinking Straw
- 1 Straight Pin
- 1 Pencil with a New Eraser
- Modeling Clay or Play-Doh
- Glue
- Colored Pencils or Crayons
- 1 Compass
- 1 Ruler
Experiment Process:
Step 1
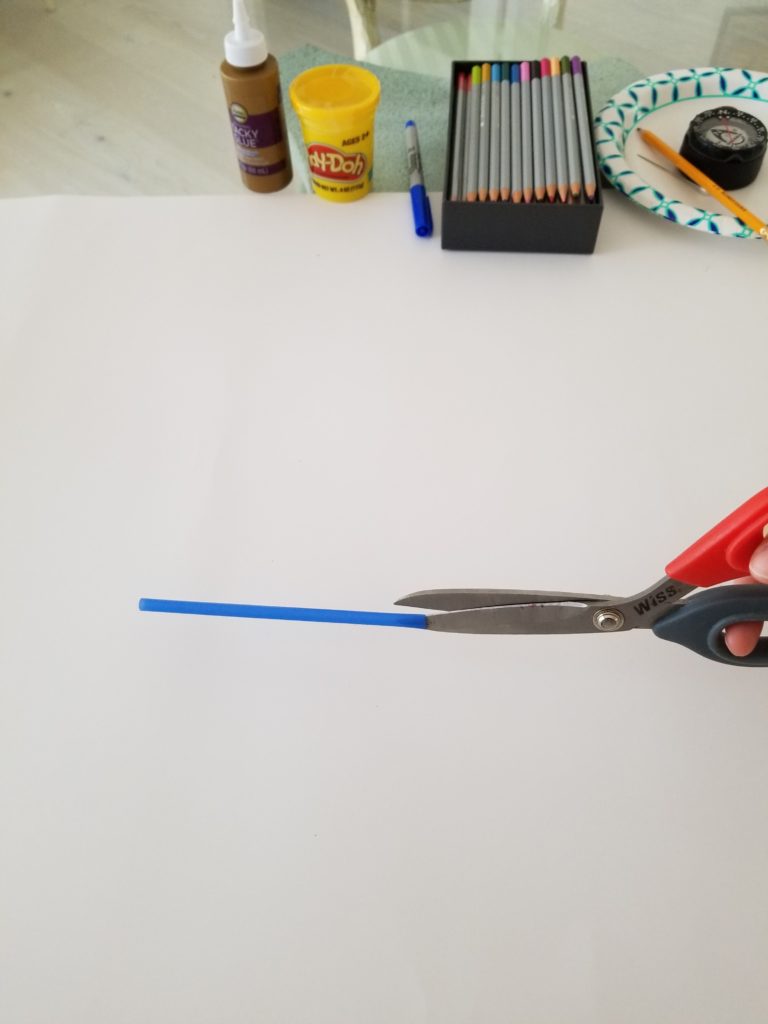
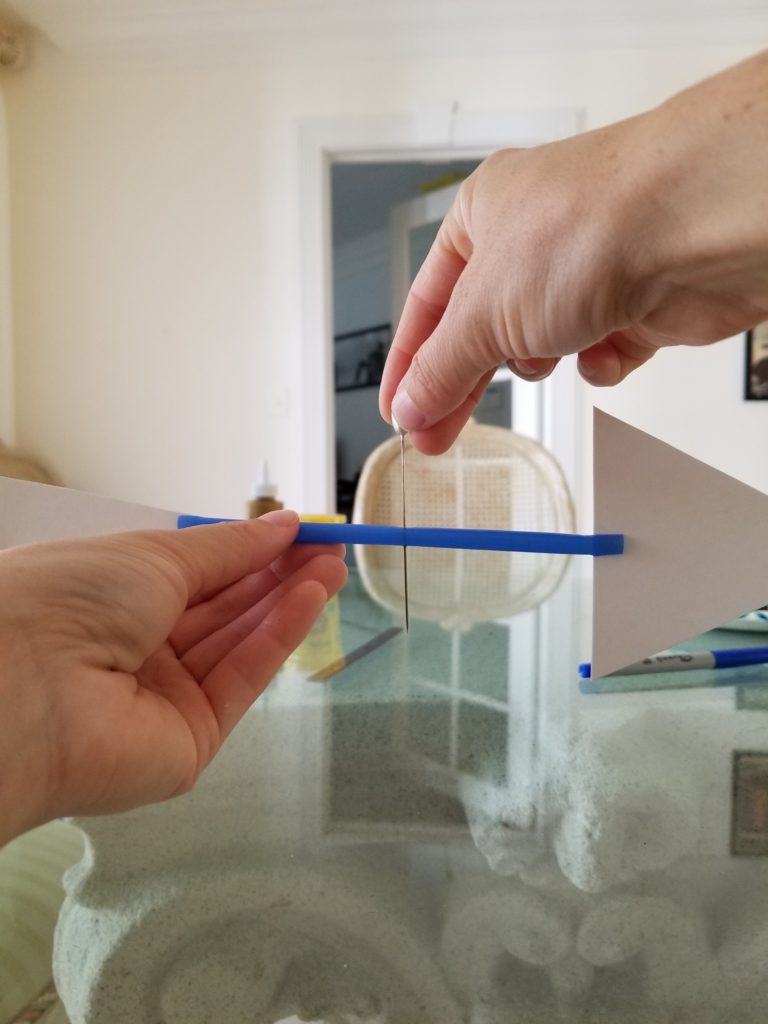
Cut two slits at both ends of the straw.
Step 2
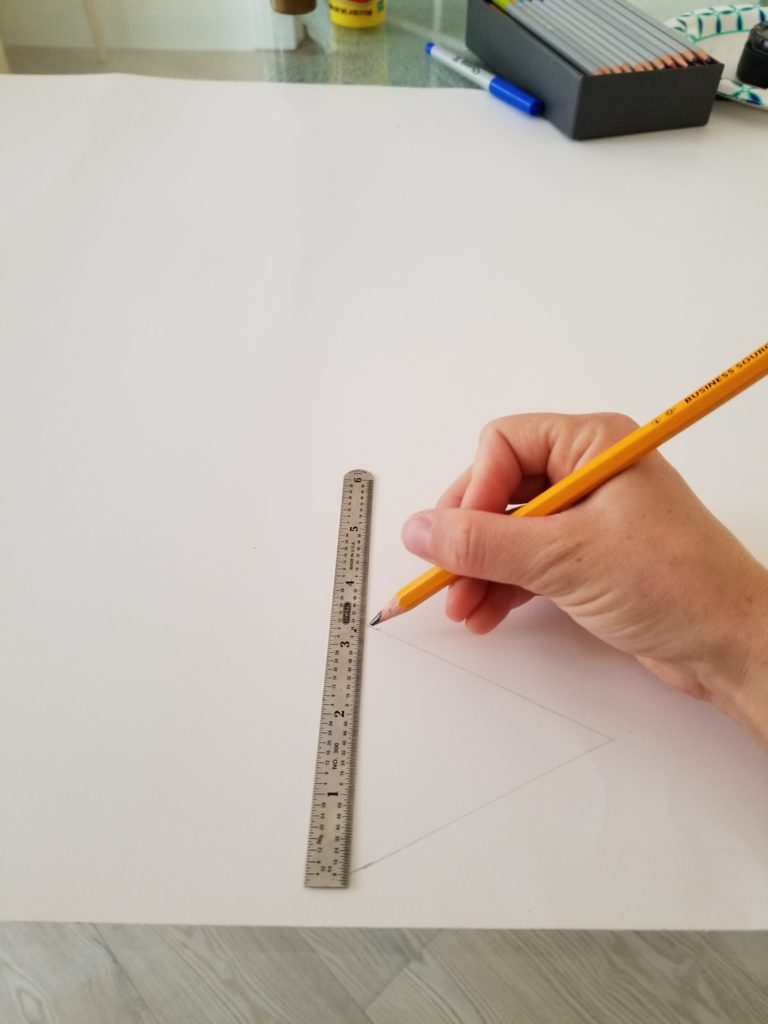
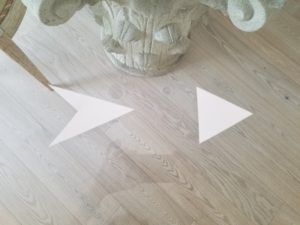
Draw the arrowhead and tail of the wind vane on poster board and cut out each piece. Use a ruler to draw straight lines.
Step 3
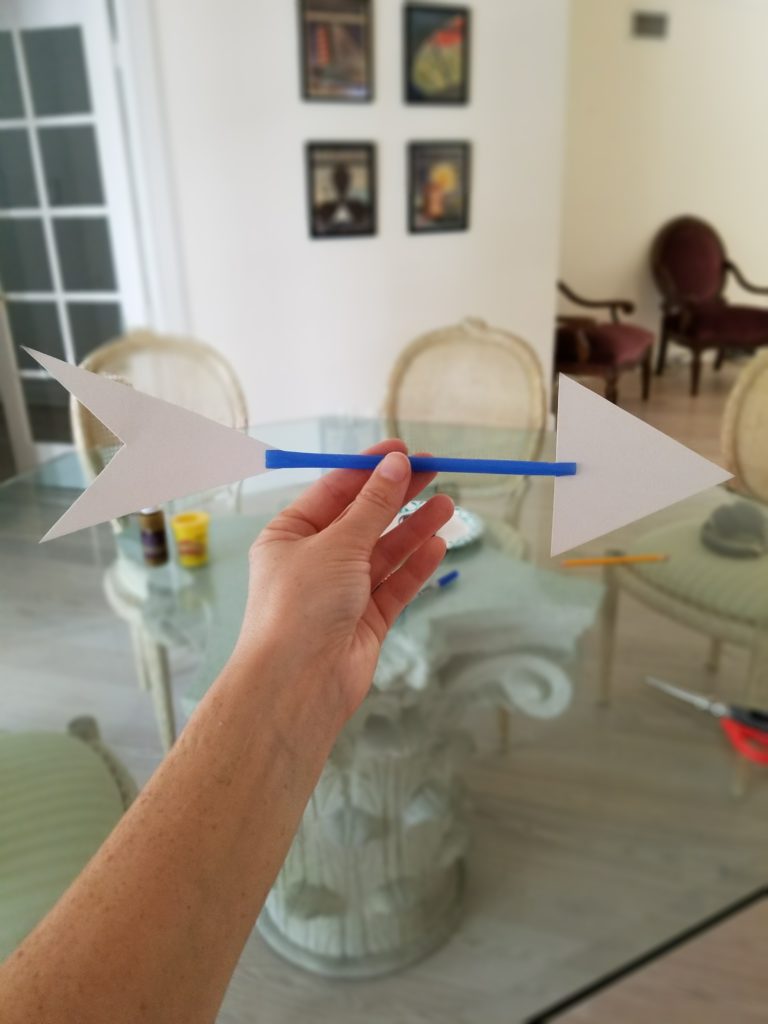
Stick the arrowhead through the slits on one end of the straw and the tail through the slits on the other end of the straw.
Step 4
Stick the straight pin directly through the center of the straw. You may need assistance from an adult with this step.
Step 5
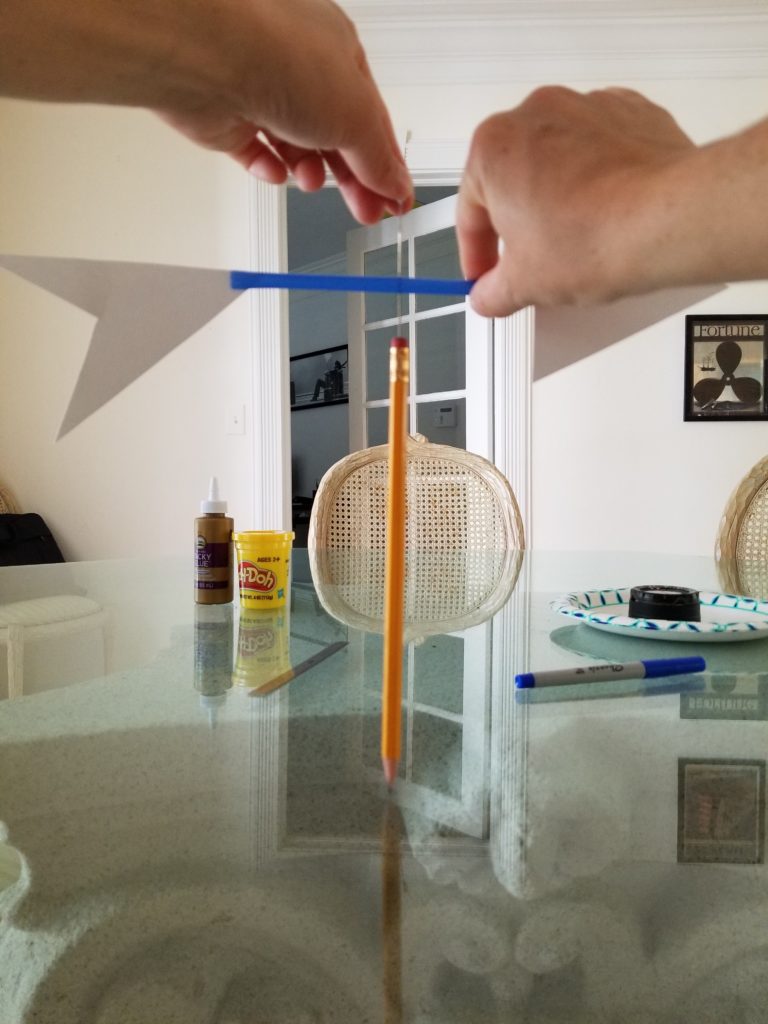
Stick the pin into the eraser of the pencil. Make sure there is enough room between the eraser, straw, and pinhead to allow for the straw to spin on the axis. Test it out and make adjustments as needed until the wind vane spins easily.
Step 6
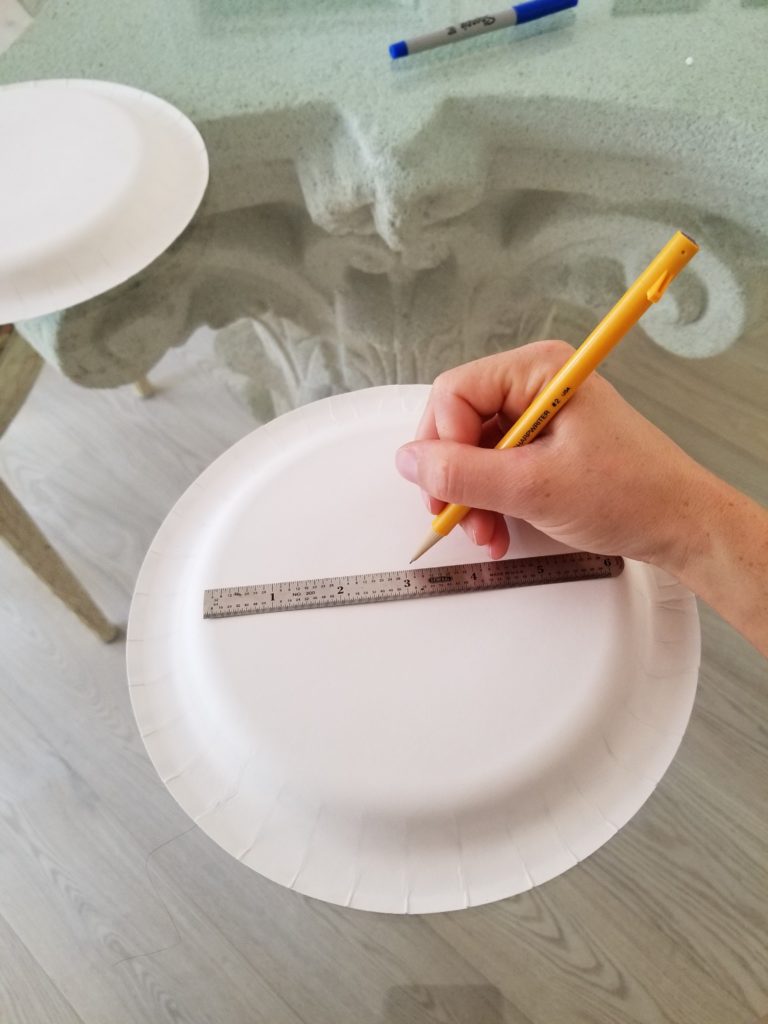
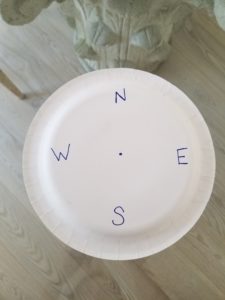
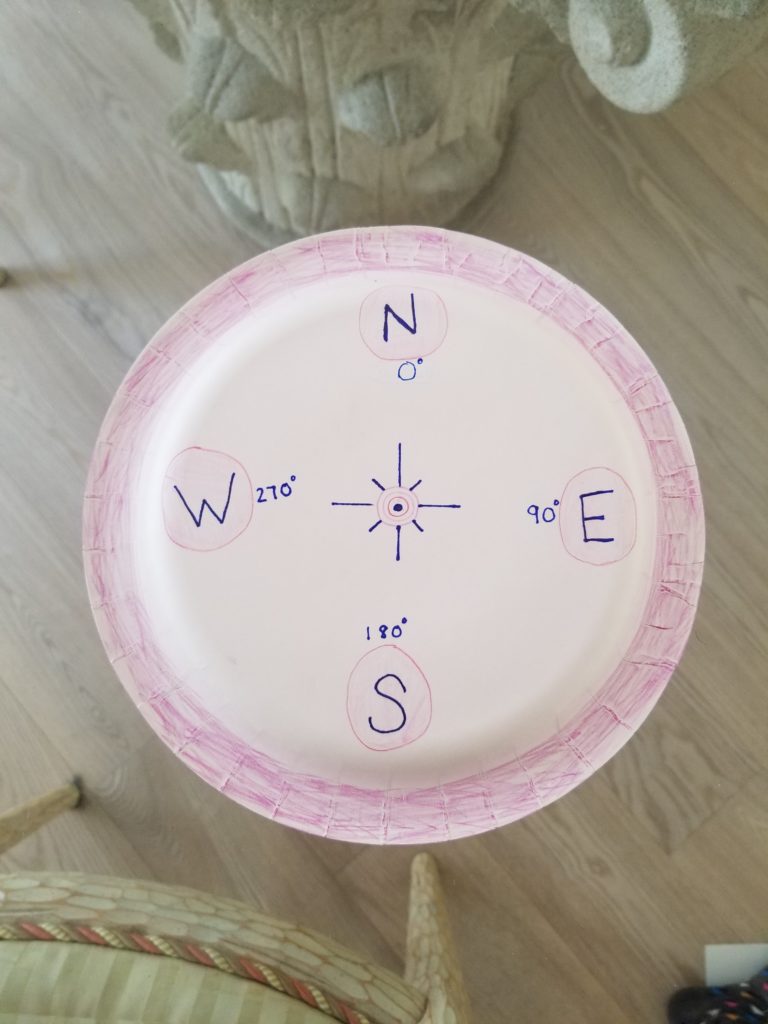
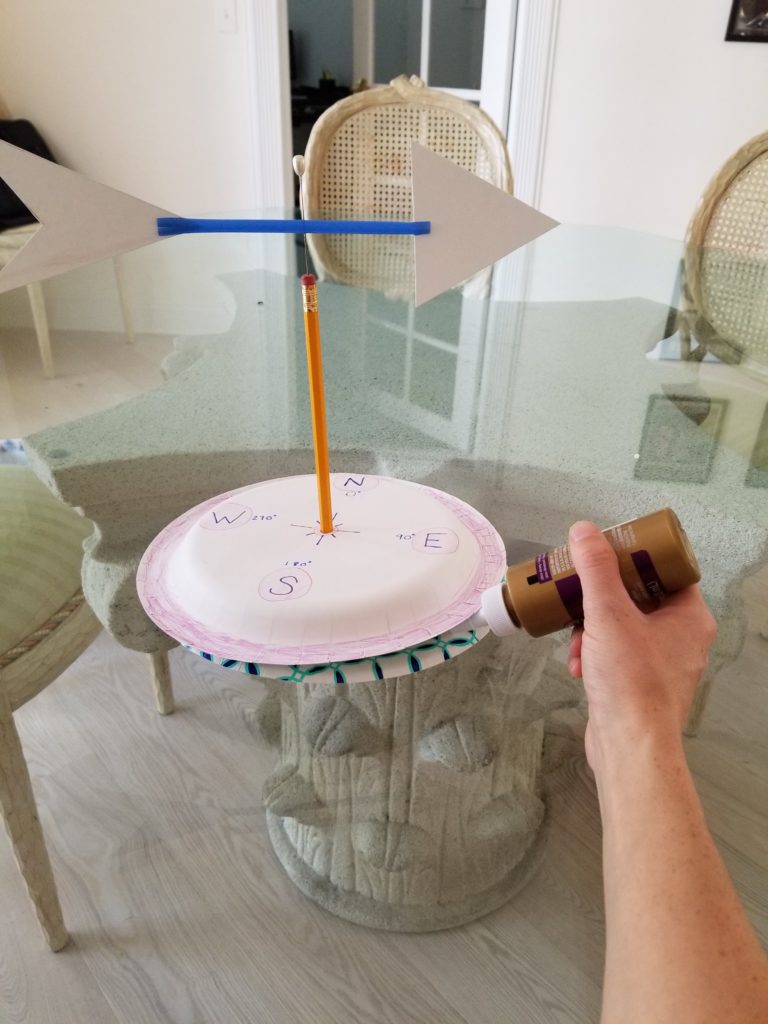
Use a ruler to mark the center of the plate and label the four cardinal directions (North, South, East, & West) at right angles on the backside of one of the plates.
Step 7
Decorate the rest of the plate however you would like using colored pencils or crayons.
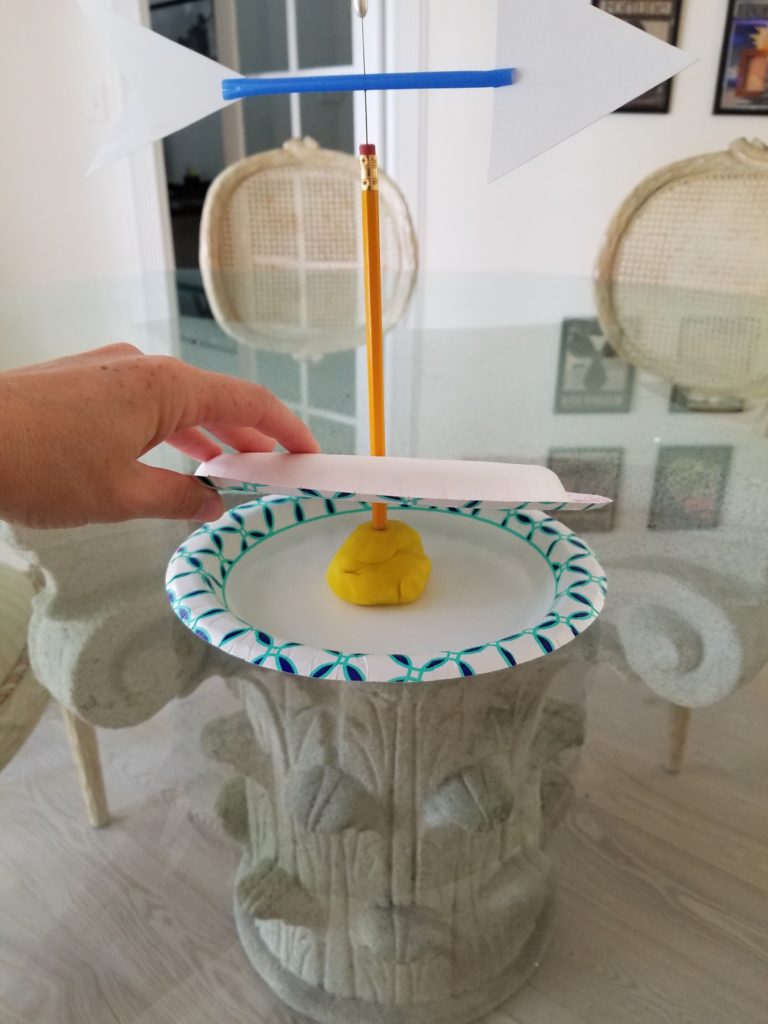
Step 8
Stick the point of the pencil through the spot you marked as the center of the plate, and then stick it into a mound of modeling clay or Play-Doh to keep your weather vane weighted and balanced when the wind blows.
Step 9
Place some glue on the rim of both plates and press them firmly together. Let the glue dry for 15 minutes before going to the next step.
Step 10
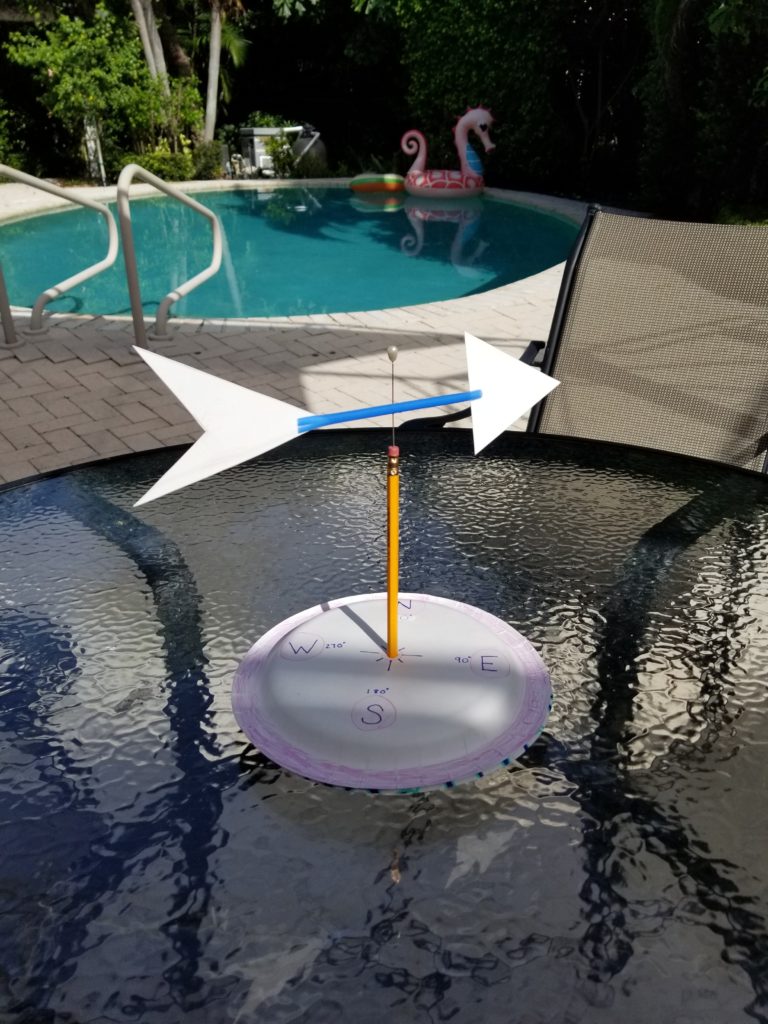
Place your wind vane outside in a location and see what happens. The arrowhead will point in the direction that the wind is coming from. For example, if your wind vane’s arrowhead spins and points East, then you are currently experiencing winds coming from the East.
Share Your Results
- When you tested out your wind vane, which direction was the wind coming from?
- Is this a strong wind or weak wind?
- Go to https://hint.fm/wind/ to look at the current wind speed and direction in your area. Does this information match the observation you made using your homemade wind vane?
Conclusions:
Due to changes in prevailing wind conditions throughout the year, some areas are better suited than others for wind farms in order to provide large amounts of electricity. The best place to put a wind farm is in a place that has pretty constant winds. Looking at wind data can tell us a lot about how good a particular area is for a wind farm.
Do some online research to find out more about the prevailing wind conditions during different times of year in your area. Use this interactive map to look at changes in wind patterns in your area over the course of a year: https://iridl.ldeo.columbia.edu/maproom/Global/Climatologies/Vector_Winds.html. (Tip: In this map, the arrows point to the direction the wind is blowing towards, and the length of the arrows indicates how strongly the wind is blowing.)
Extension:
Based on what you learned about the wind conditions throughout the year where you live, do you think your town is a good location to harness a lot of wind energy? Why or why not?
- If yes, search online to find out if there is already a wind farm close to where you live.
- If not, what might be another good alternative source of energy in your area?

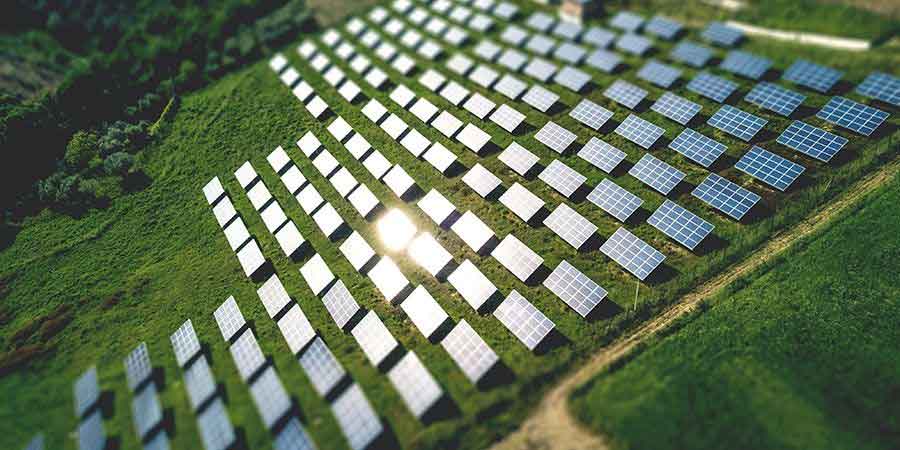
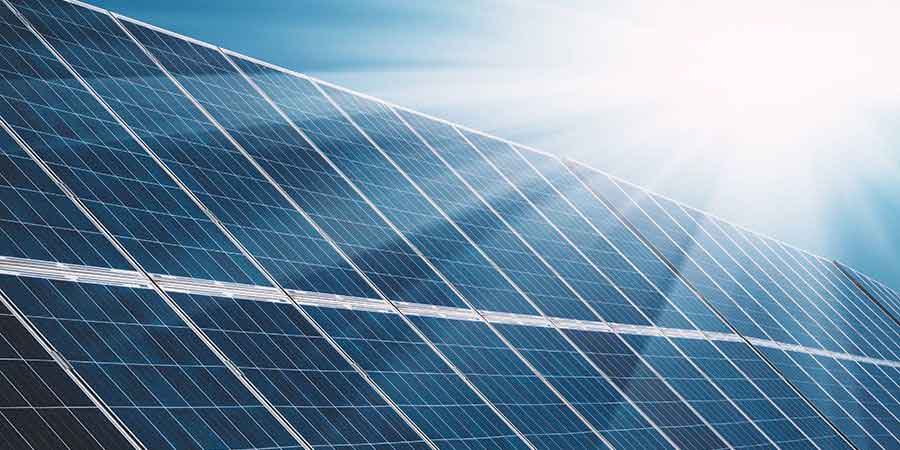
")

Want to learn more about Community Solar?
Our solar specialists can provide a free consultation.
Get Started