Parental Note: This experiment is geared towards ages 8 and up. The project may require some adult help when dealing with certain objects (hot glue gun and correctly tracking the sun). The experiment can be completed by children as young as age 4 but support would be needed for all steps.
Important Note: An entire day will be needed to track the sun’s position in the sky to create the hourly markings on the sundial. With this in mind, it may be best to create the sundial on one day and track the sun on another.
Experiment Overview:
Have you ever played outside on a clear summer day and watched the sun’s position change as time progressed? For example, when playing outside at 10 in the morning, the sun was at one position and when you looked again at 1 in the afternoon, the sun seemed to move across the sky to a different location. When tracking the sun throughout the day, you may think that it makes a trip through the sky following a certain path; this is not actually the case. Our earth is the item that is moving or rotating on a certain path! The sun isn’t moving, we are! The earth rotates on its axis which creates a “solar day.” A solar day is a time it takes the Earth to make a single rotation on its axis with respect to the sun. Due to this rotation, it appears that the sun moves through the sky based on the time of day.
Early Egyptian astronomers noticed the same thing about the sun and created a device that could track the sun’s “movement” to accurately tell time. The name of this device is a sundial. A sundial is an instrument that tells time by using the position of the sun. The main parts of a sundial are rather simple, consisting of:
- a dial plate/face
- a gnomon, which is the element of the sundial that casts the shadow
As the earth rotates and the sun appears to move across the sky, the shadow created by the gnomon indicates the time of day. In this experiment, we are going to create our own sundial and track the earth’s rotation with respect to the sun. Let’s get started!
Experiment Materials:
- Medium sized piece of cardboard or sturdy paper
- Modeling clay
- Pencil
- Hot glue gun
- Ruler
- Marker/pen
- Clock (to tell time)
- Open space with full sun (driveway, parking lot, playground, or yard)
Experiment Process:
Step 1
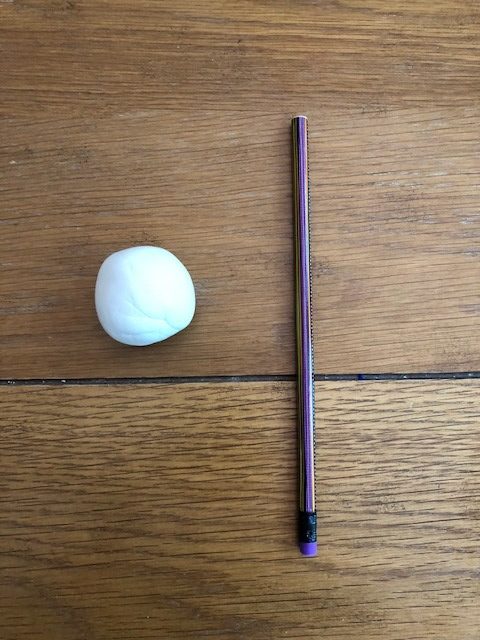
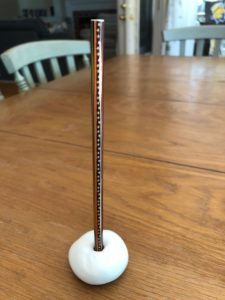
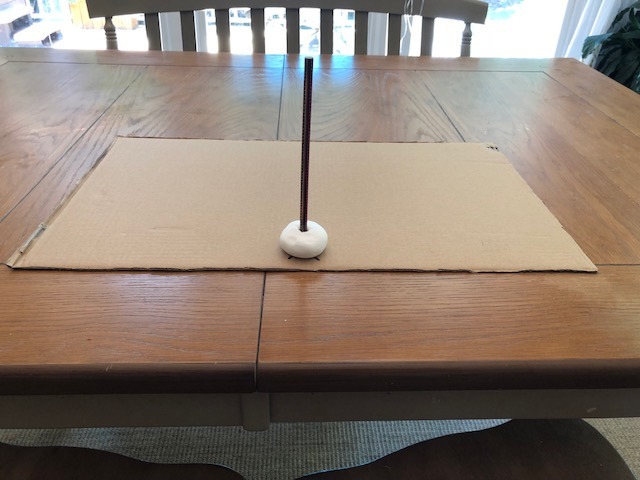
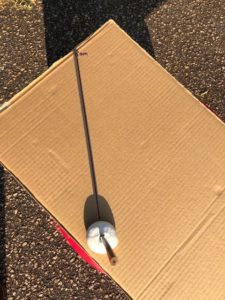
The first step in this experiment is to create the gnomon for the sundial. To do this, take a small amount of modeling clay and create a round, ball-shaped base. Flatten the bottom of the clay ball so that it does not roll around on a flat surface. Next, place the pencil directly into the center of the modeling clay ball so that the pencil can stand freely.
Note: It may be necessary to mold the modeling clay around the pencil to make sure it stands straight up.
Step 2
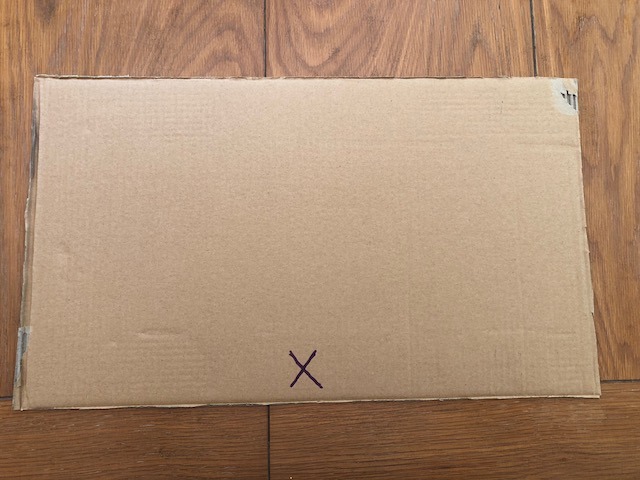
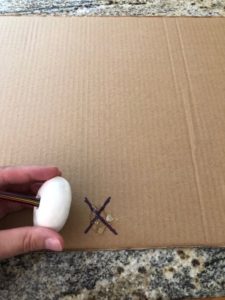
Place an “X” on the bottom center of the cardboard. (This is where the gnomon will be placed.)
Step 3
Next, hot glue the modeling clay/pencil gnomon to the bottom center of the cardboard where the “X” has been marked. Allow the hot glue to cool before moving the sundial.
Note: Parent help may be needed to use the hot glue gun.
Step 4
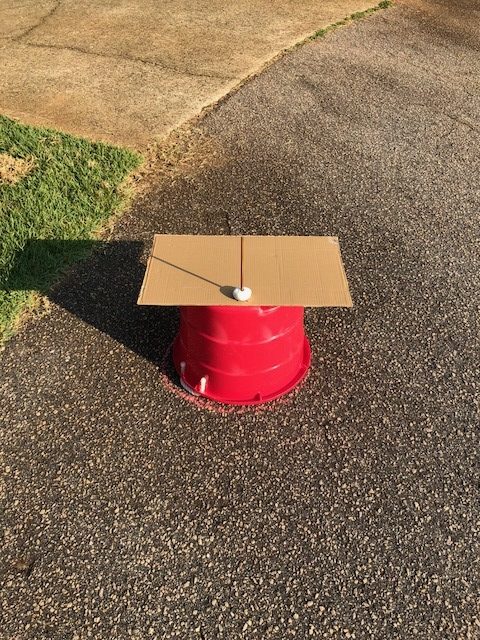
Find an open space that is directly in the sun for most of the day. Make sure the surface is flat and as level as possible. The sundial should not be on a tilted or on a sloped surface.
Note: I placed my sundial at the end of the driveway on a flat area of concrete. To make sure my sundial was easily accessible for steps 5-7, I also placed the sundial on top of a plastic container.
Step 5
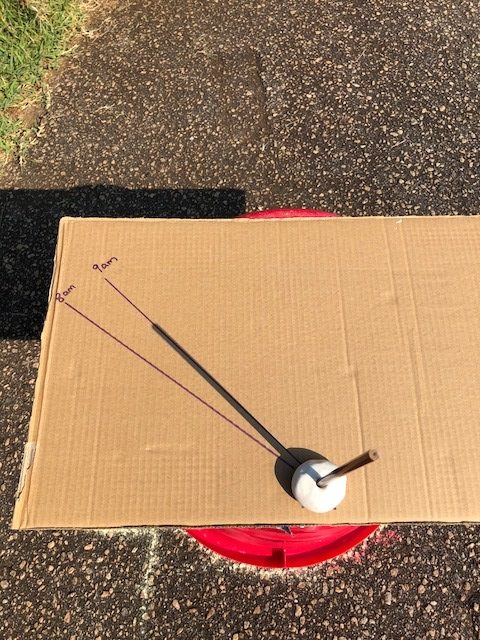
Align the sundial so that the first shadow cast on the cardboard is located on the left-hand side.
Note: the sundial will be pointed towards a northernly direction if you live in the Northern Hemisphere and a southerly direction is you live in the Southern Hemisphere.
Step 6
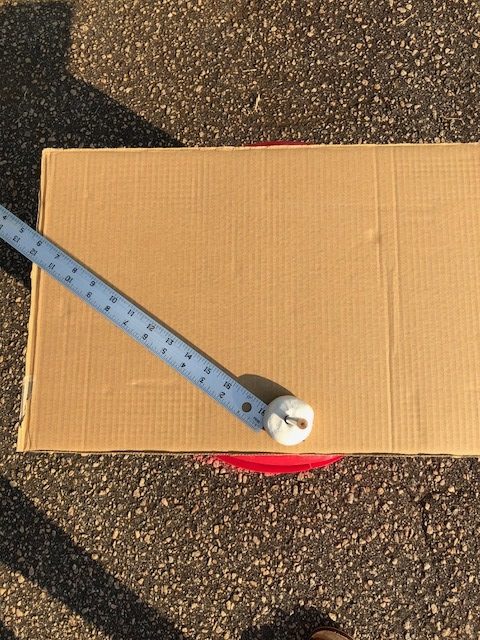
Mark the first-hour point on the sundial. To do this, place the ruler on top of the shadow and use a marker to trace the shadow created by the gnomon. Make sure to write the correlating time at the top of the mark/line. Repeat this step every hour.
Note: Use the same clock for each recording time so that the sundial will be consistent. As you can see, I started my sundial at 8 a.m.
Step 7
Monitor the sundial as the day goes on and trace the shadow created every hour. Continue to trace and write correlating times as long as the sun is available.
Conclusions:

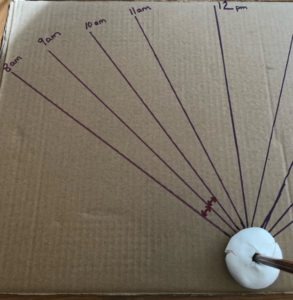
As you can see from the picture above, I was able to create my sundial from 8 a.m. to 4 p.m. The reason I did not record hours before and after those times was that I did not have access to the sun due to tree coverage. As the sundial was being created, I noticed a few observations.
- The shadow created by the sundial got smaller as the time approached 12 (noon). As the day progressed, the shadows began to grow in size as time as the evening hours grew closer. The science behind this observation is as follows: The shadows got smaller at 12 (noon) because the sun is directly above the sundial’s location; this means only a small shadow or no shadow will be created/ cast. As the earth continues to rotate and the sun appears lower in the sky towards the horizon (evening) the shadows increased in length due to the sun’s location.
- The distance between each hour of time on the sundial was relatively the same size at the base near the gnomon. When the sundial was completed, it looked as though the sundial was divided into relatively equal sections coming out from the gnomon.
This observation makes sense because each hour was marked based on 60 minutes of elapsed time.
For example:
- From 9 am to 10 am there are exactly 60 minutes that have gone by.
- From 10 am to 11 am there is also 60 minutes of elapsed time.
- It is important to also note that my sundial was created during “daylight savings time.” This is the practice of shifting solar time by one hour and advancing the clocks during summer months so that the evening light lasts longer. Usually, if a region practices “daylight savings time,” the clocks move forward by 1 hour close to spring and are adjusted back around autumn. This experiment was done during the month of July and during “daylight savings time.” If I were to use this sundial during “standard time” (regular hours), I would have to adjust the time by 1 hour. The 10 am reading would fall on the 9 am reading (1 hour back from the original sundial)
Now that the sundial has been created and the main learning points have been outlined, I hope you have a better understanding of the earth’s rotation regarding the sun. Now, when you go outside to enjoy the sun’s rays on a clear day, you will know that the earth is moving, not the sun!
Extension:
Variations to the Experiment
Parents, feel free to try the following variations to the experiment:
- Use your child’s body as the sundial’s gnomon. Trace their body’s shadow to create the markings for the sundial on the driveway or a large open concrete space.
- Change the item utilized as the gnomon to create different shadows. (a paper towel tube, a small sliver of wood, a small nail, a piece of wire)
Study/Extension Questions
- What are the main parts of a sundial and how do they work?
- What is “daylight saving time” and how does it affect a sundial?
- What if you were to change the sundial’s materials? Would the materials change the results of the sundial and tracking the sun?
- Could the sundial’s flat plate/face be curved? Would a curved plate change the accuracy of the sundial?
- How accurate is a sundial? What can help to make a sundial more accurate?
- Do you think there are any problems with a sundial? Any downfalls to using this item as a reliable time telling instrument?

")

Want to learn more about Community Solar?
Our solar specialists can provide a free consultation.
Get Started