Parental Note: This experiment is geared towards ages 8 and up.
Additional Note: This experiment will take roughly 30 minutes to set up and observations will be recorded over the course of 1-2 hours (depending on how hot it is outside.)
Experiment Overview:
When a liquid is placed in a cup, it slowly escapes in a gaseous state until eventually, the container is empty. This is known as evaporation. Evaporation is the invisible process that changes liquid water into water vapor (gas) and is the primary way that water on the surface of the Earth is recycled back into the water cycle as atmospheric water vapor. This process is controlled by the energy (heat) produced by the sun as it warms up Earth’s surfaces and breaks the bonds that hold water molecules together.
Evaporation is a natural process, and it is an important part of the water cycle. Having clean, fresh water is important to all life on Earth, and thanks to the water cycle, sometimes clean or salty water that is undrinkable, can become fresh water. Saltwater is freshwater with salt dissolved in it. When the saltwater heats up, however, only the freshwater evaporates into a gas, and the salt is left behind. The same is true of water with a lot of dirt and other particles in it. When dirty water is heated up, the dirt is left behind and the clean, fresh water is all that evaporates. Eventually, the evaporated water will turn back into a liquid through a process called condensation. In this experiment, you will turn dirty and salty water into clean water using only energy from the sun!
Experiment Materials:
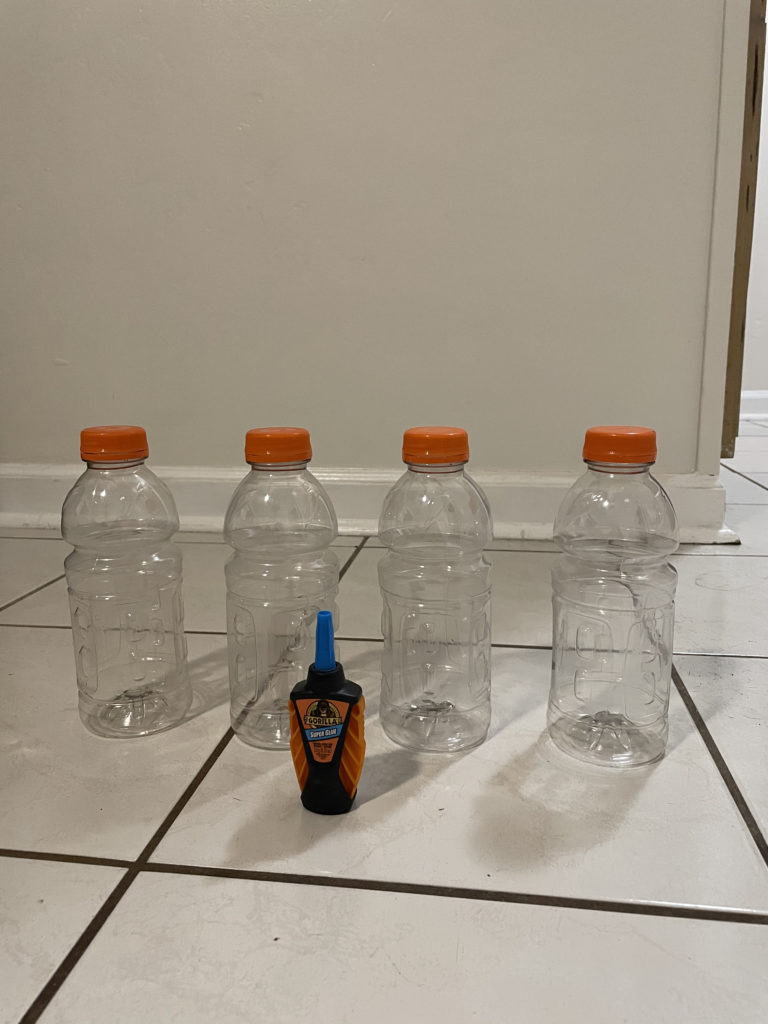
- Four clear plastic bottles
- Strong tape or glue
Experiment Process:
Step 1
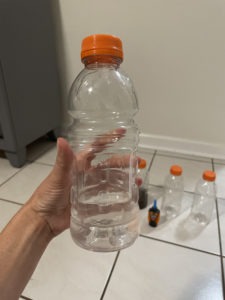
Fill one water bottle 1/3 of the way with dirty water. Fill another water bottle 1/3 of the way with saltwater. Leave the other two bottles empty.
Step 2
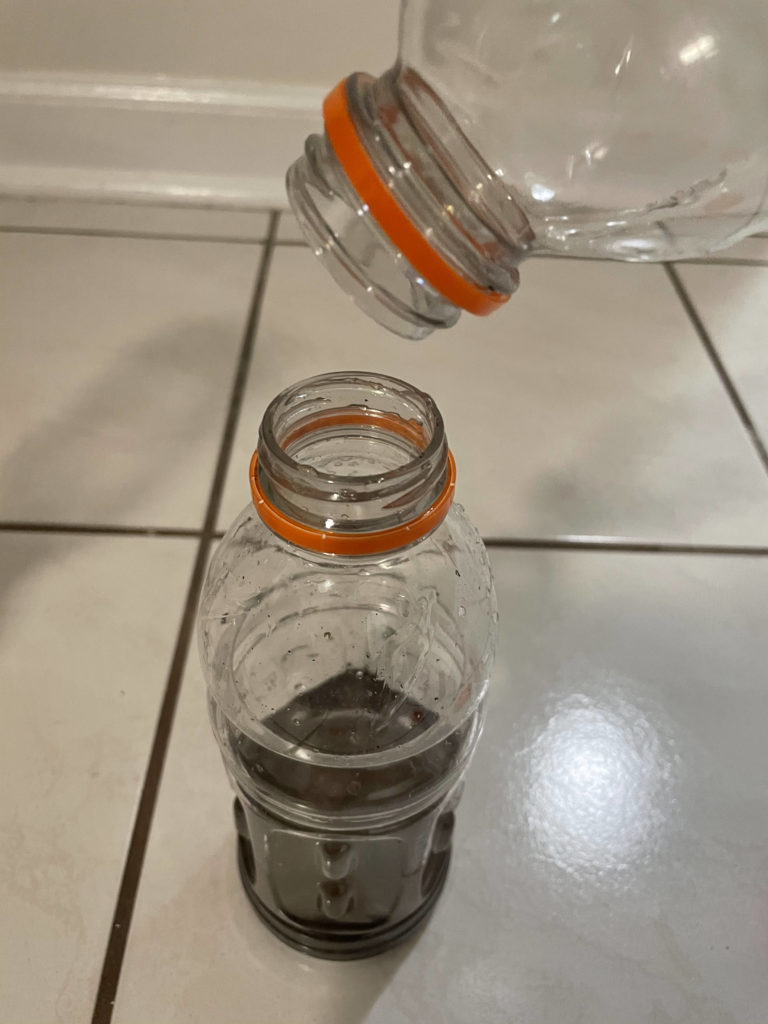
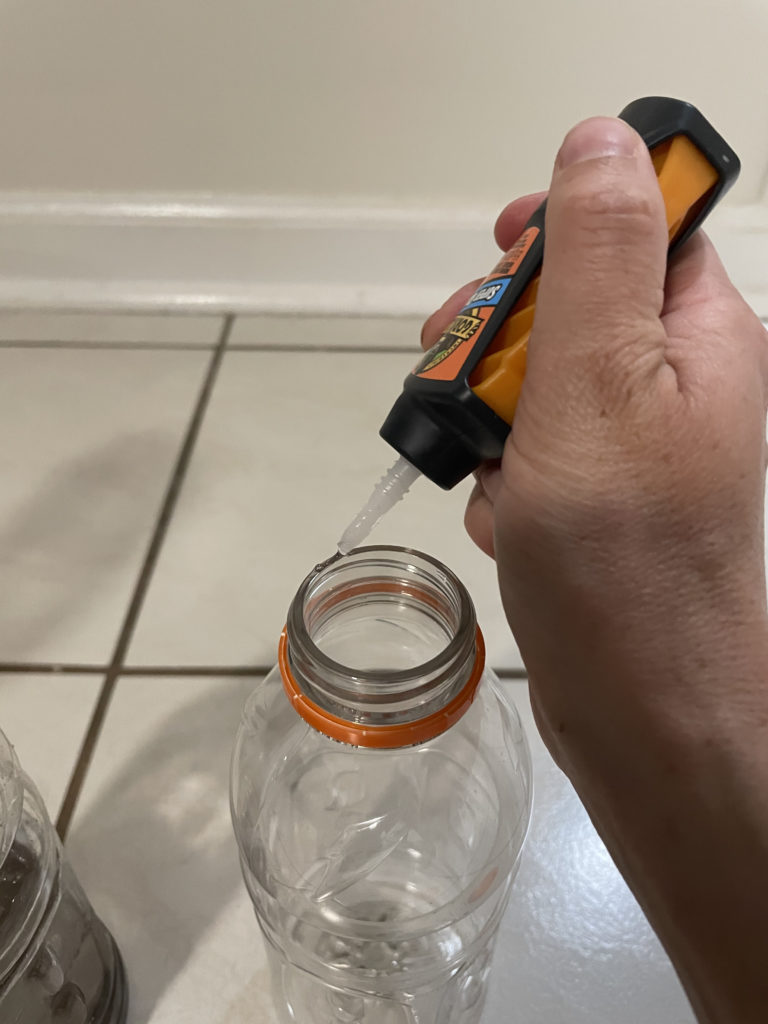
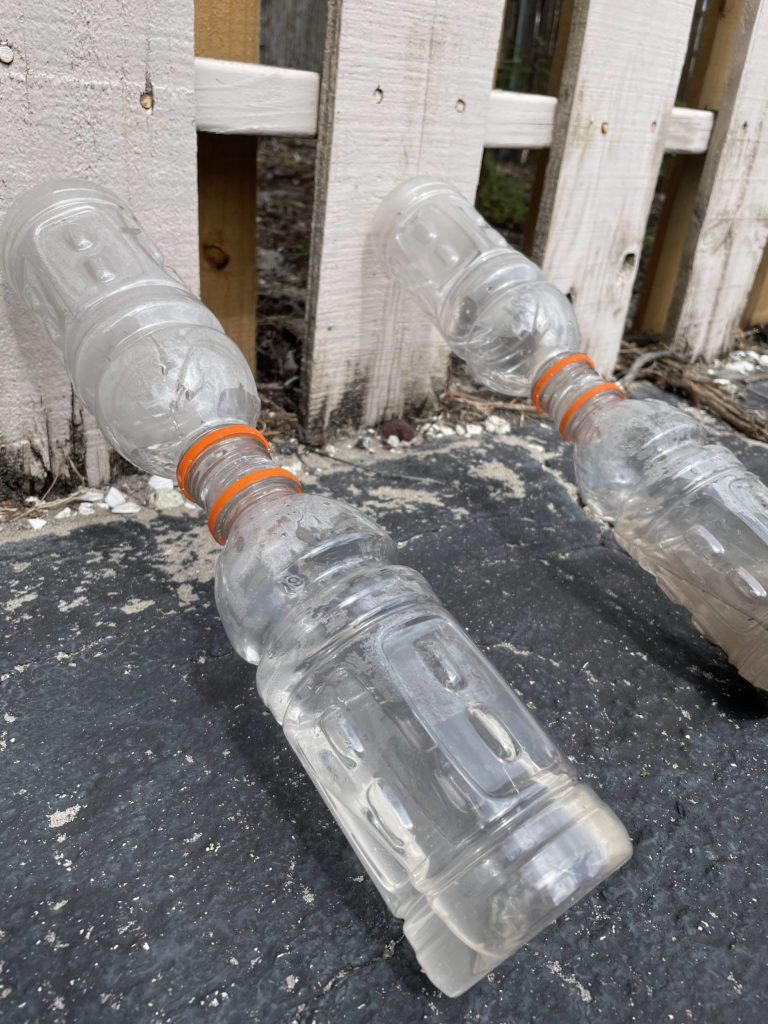
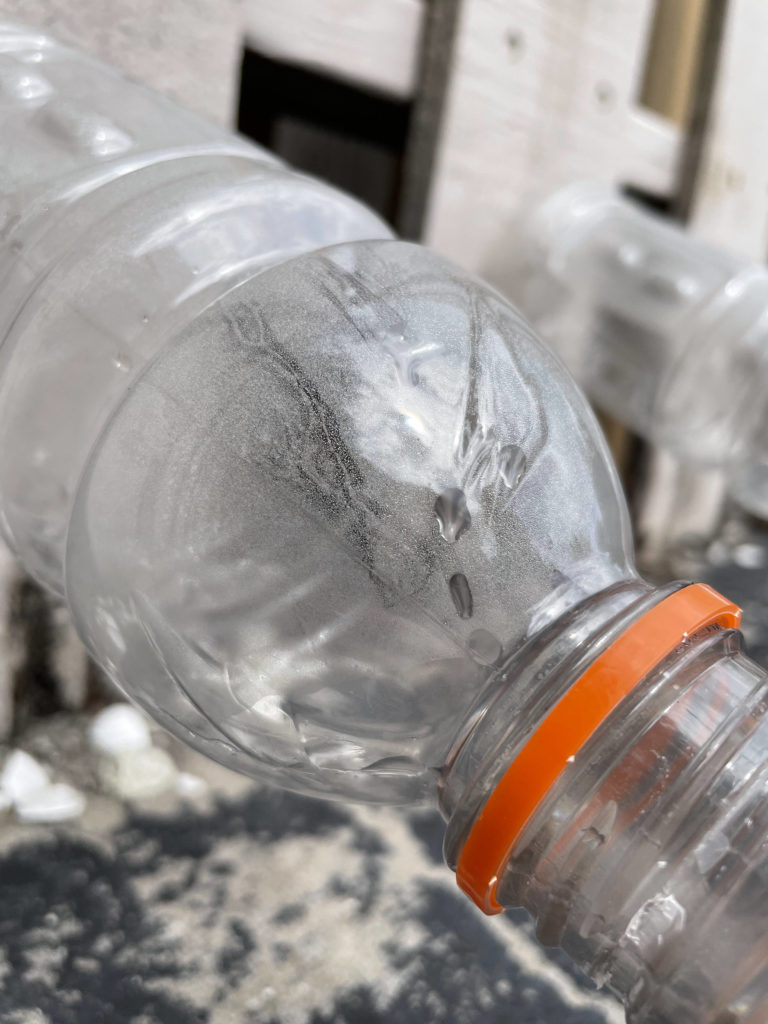
Take the dirty water bottle and one empty water bottle and glue or tape them together at the mouth. Make sure the seal is air tight.
Step 3
Take the saltwater bottle and one empty water bottle and glue or tape them together at the mouth. Make sure the seal is air-tight.
Step 4
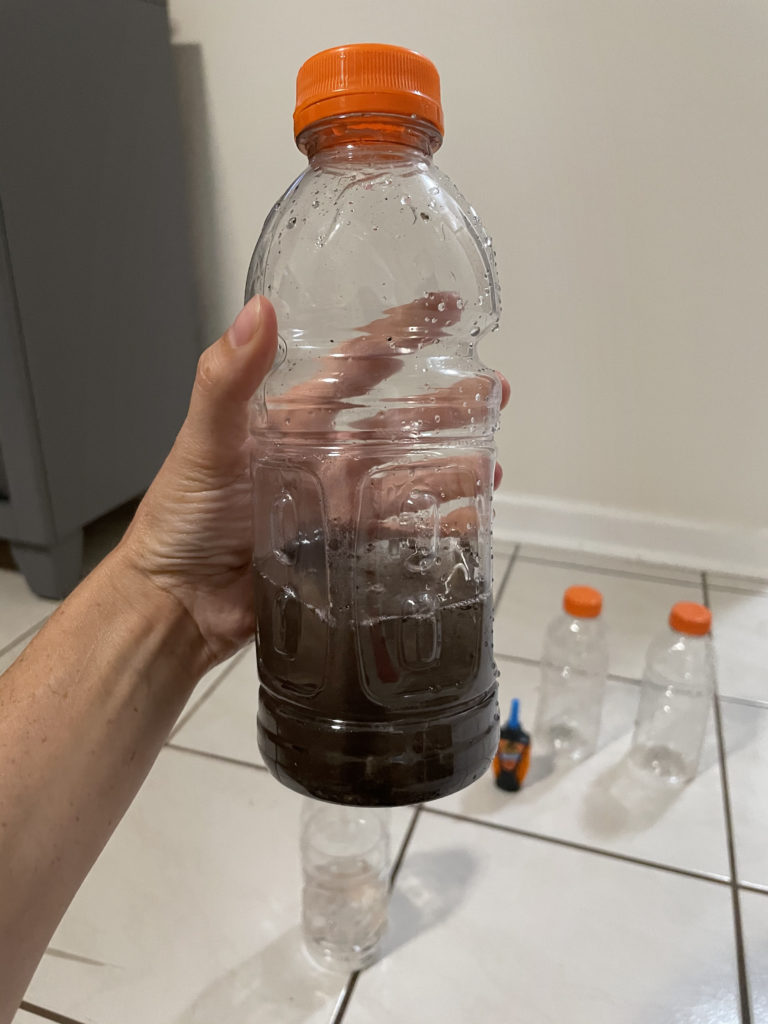
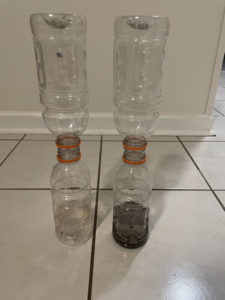
Go outside and find a spot in full sunlight to do your experiment. Prop up the bottles on a slight angle. You can use rocks, bricks, books, or whatever is available to you.
Step 5
Observe until you start seeing water droplets forming in the top empty bottles. This is evaporation and condensation in action!
Step 6
Keep going and see how much water evaporates from the dirty and salty water bottles after an hour or two.
Conclusions:
Results and Extension Questions:
- What happened in the empty bottles as time went on?
- When you noticed water droplets forming in the empty bottles, was this evaporation or condensation that you were seeing?
- How might this process be useful to humans?
Extension:
Try this activity out with a few different types of liquids (e.g., iced tea, pool water, rubbing alcohol). Grab a timer and see how long it takes for each liquid to start evaporating, or try out this evaporation experiment.

")

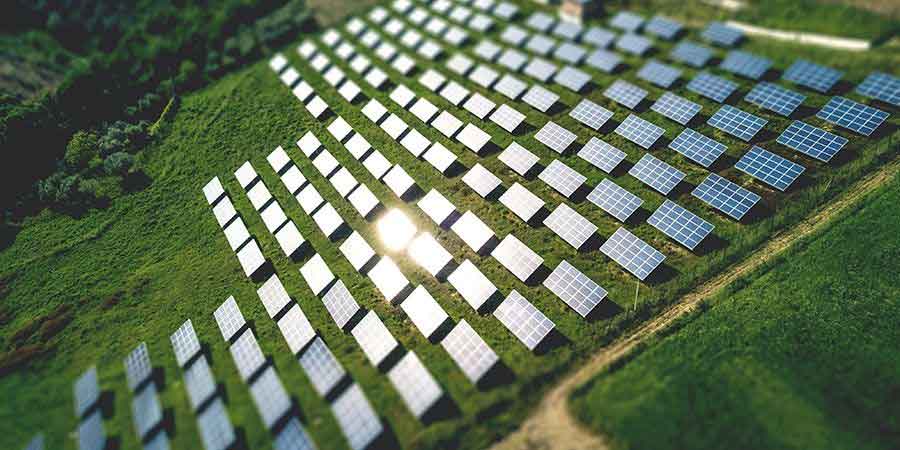
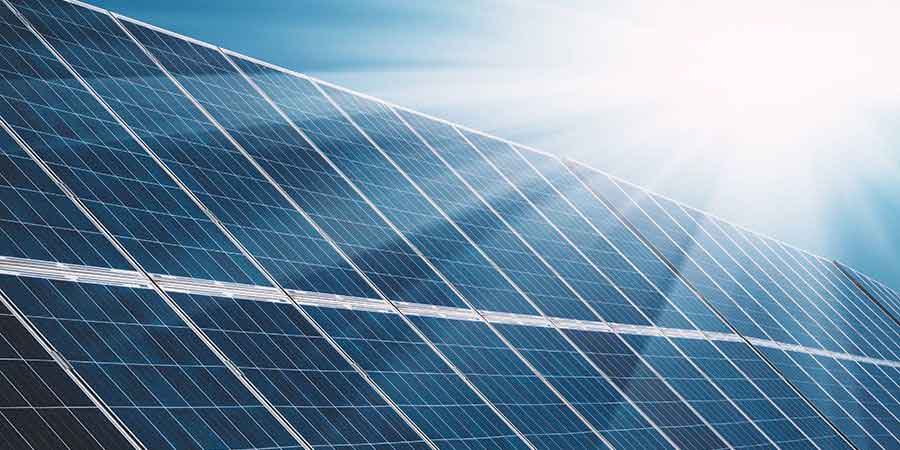
Want to learn more about Community Solar?
Our solar specialists can provide a free consultation.
Get Started