Parental Note: This experiment is geared toward ages 6 and up. Children will need adult assistance or supervision when cutting the soda bottle.
Additional Note: It will take about 20 minutes to create the rain gauge, and one week to perform the experiment.
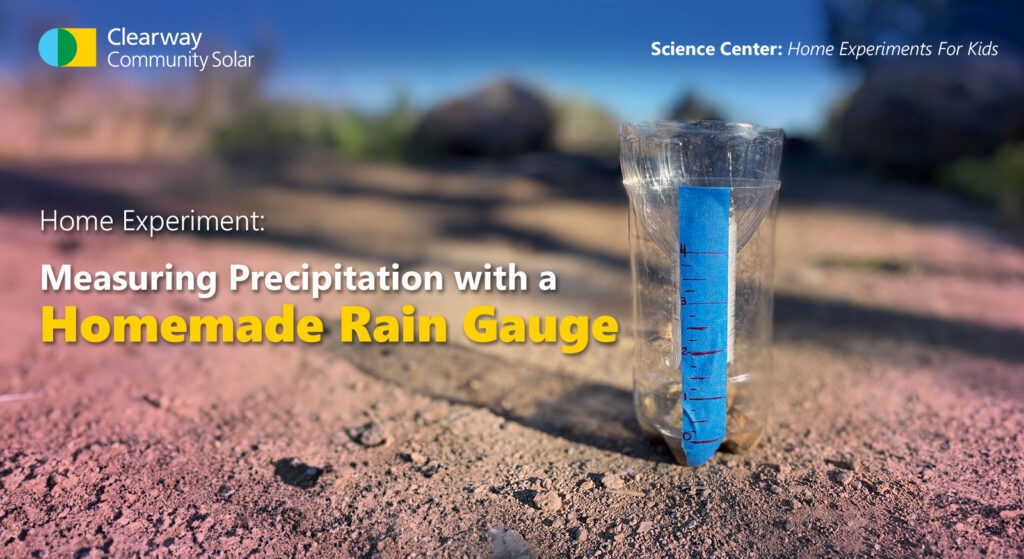
Experiment Overview:
Precipitation is any form of water that falls from the atmosphere (e.g., rain, hail, snow) and reaches the ground. Precipitation is one of the seven elements of weather that make up weather patterns. The other six elements are: wind, temperature, atmospheric pressure, humidity, clouds, and dew point. Depending on where you live in the world, it may rain very little, only during certain months, or you may experience heavy bouts of rain throughout the year.
For thousands of years, people all over the world have been tracking trends in the amount of precipitation for agricultural planning and flood control purposes, and also to make predictions about Earth’s climate. Accurate measurement of precipitation requires the right tools. A rain gauge is an instrument that measures how much precipitation has already fallen to the ground. Rain gauges come in a few different styles, but the simplest form is one that involves a funnel which collects the fallen liquids into a container to be measured each day.
The funnel is an important part of the rain gauge. Since it can rain on hot days during the year, some water may evaporate after it falls. Evaporation is an important process and a natural part of the water cycle. But the purpose of the rain gauge is to measure the amount of precipitation that has fallen, so we want to prevent those liquids from evaporating out of the container. Using the funnel ensures that any liquids that made it into the bucket that start to evaporate inside of the container will condense on the surface of the funnel and fall back into the container. While some liquids may escape through evaporation, this allows for more accurate measurement than simply allowing the rain to fall directly into an open bucket.
In this experiment, you will make your own rain gauge and record the amount of precipitation in your backyard each day for one week.
Before beginning, check the weather forecast in your area. How much precipitation is predicted over the next seven days? If you can’t find a prediction from your local weather station, drought.gov has 1-day and 7-day precipitation forecasts for the United States. You will need to do your best to find your hometown on the map.
Experiment Materials:
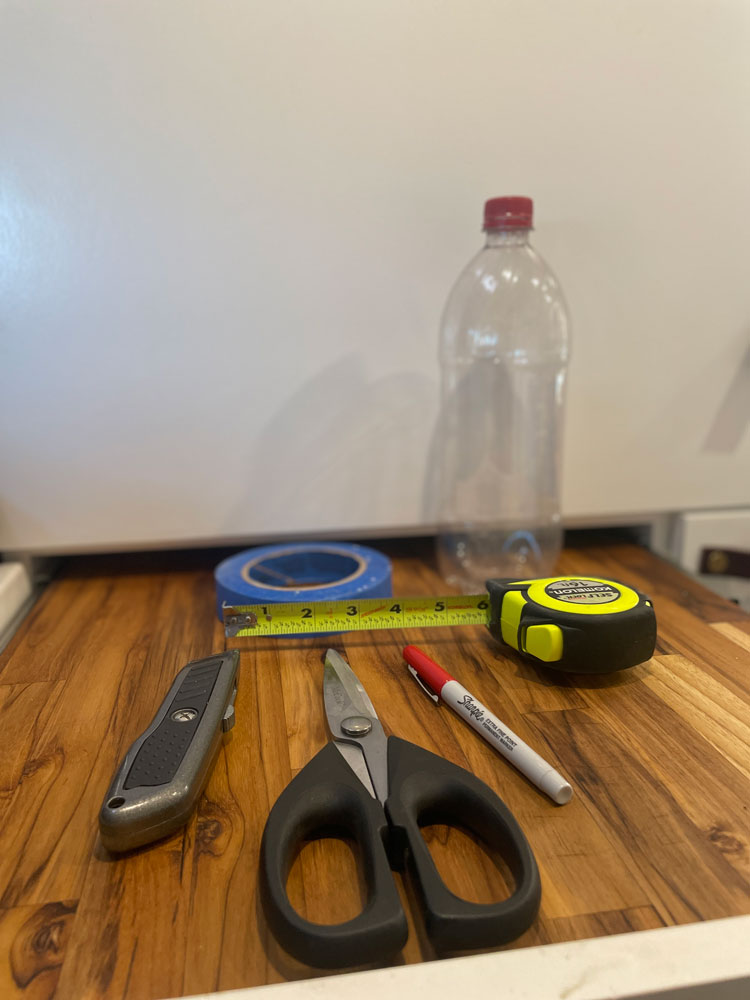
- Empty 1L soda pop bottle
- Scissors
- Utility knife
- Tape
- Permanent marker
- Ruler
- Small rocks
Experiment Process:
Step 1
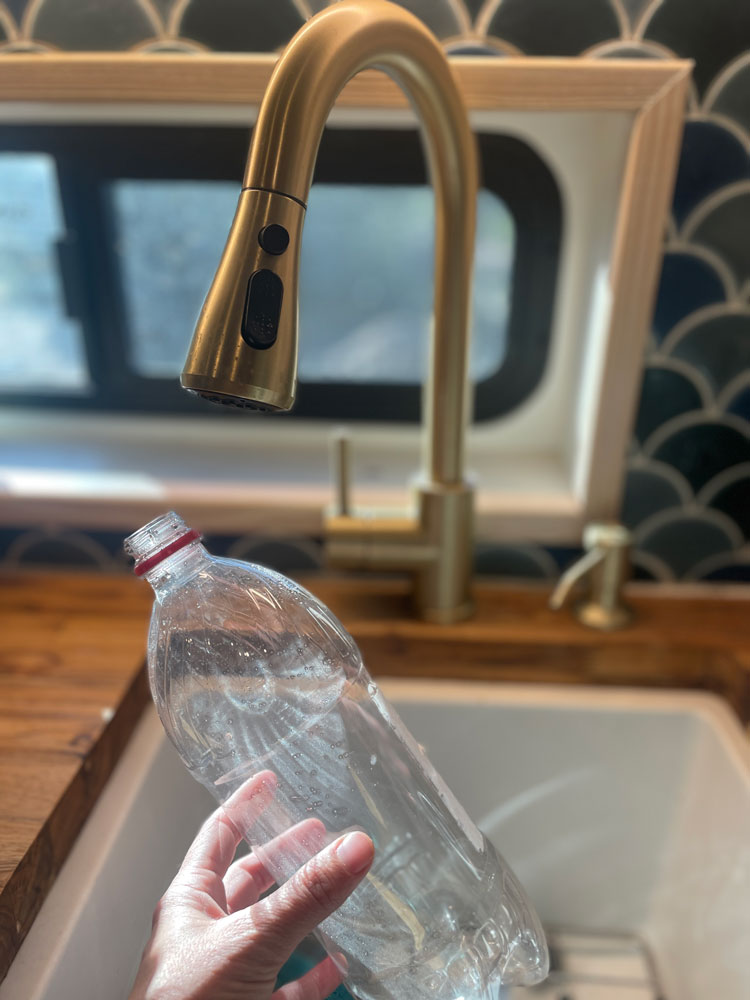
Take a 1L soda bottle and remove the cap and label. Then wash and dry the bottle.
Step 2
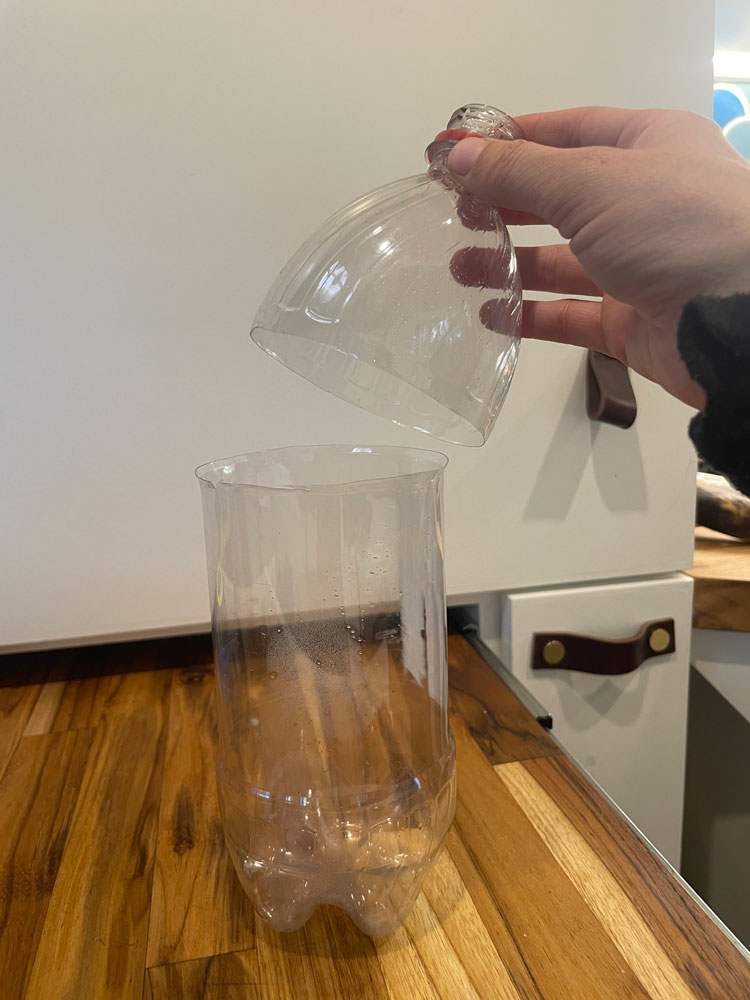
Cut the top of the soda bottle off where the rounded portion of the top of the bottle ends.
Step 3
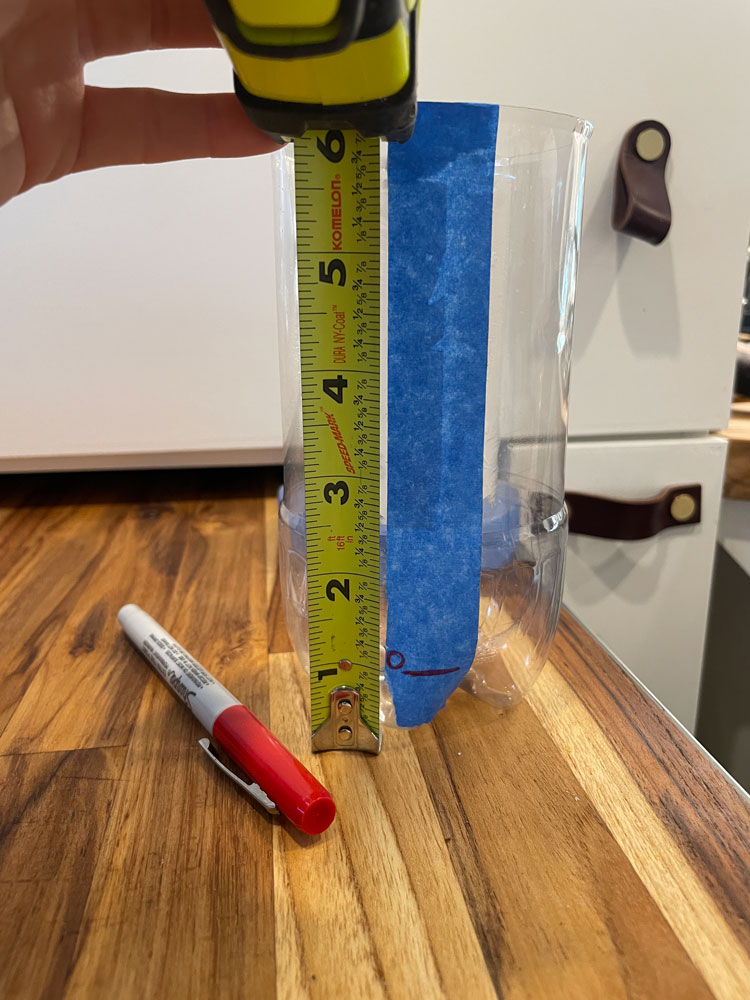
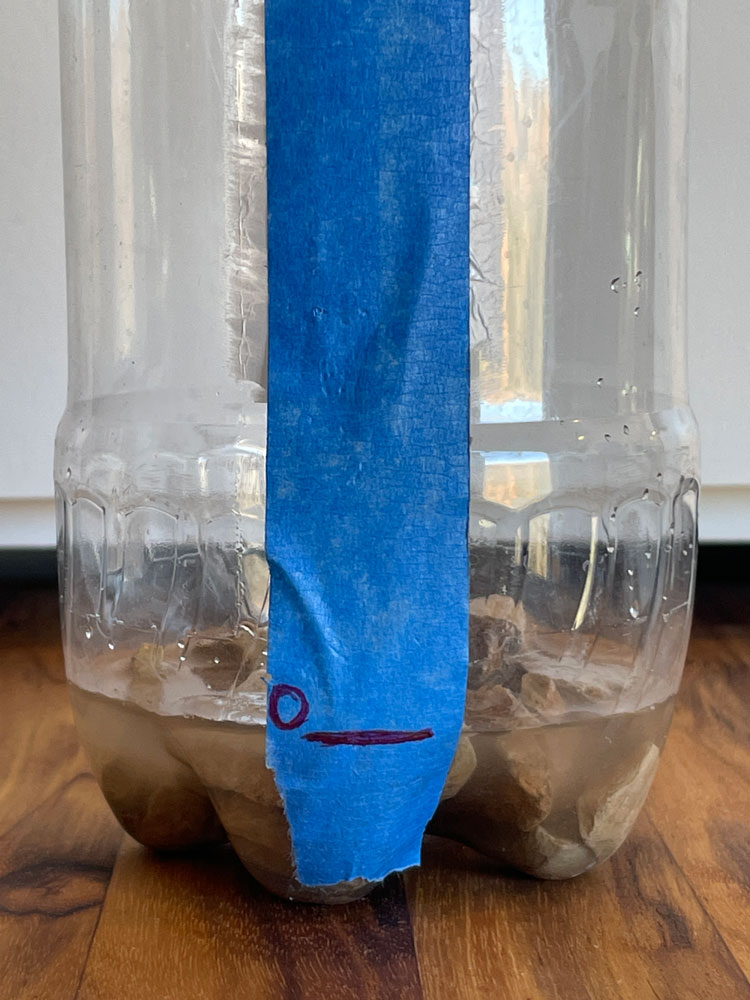
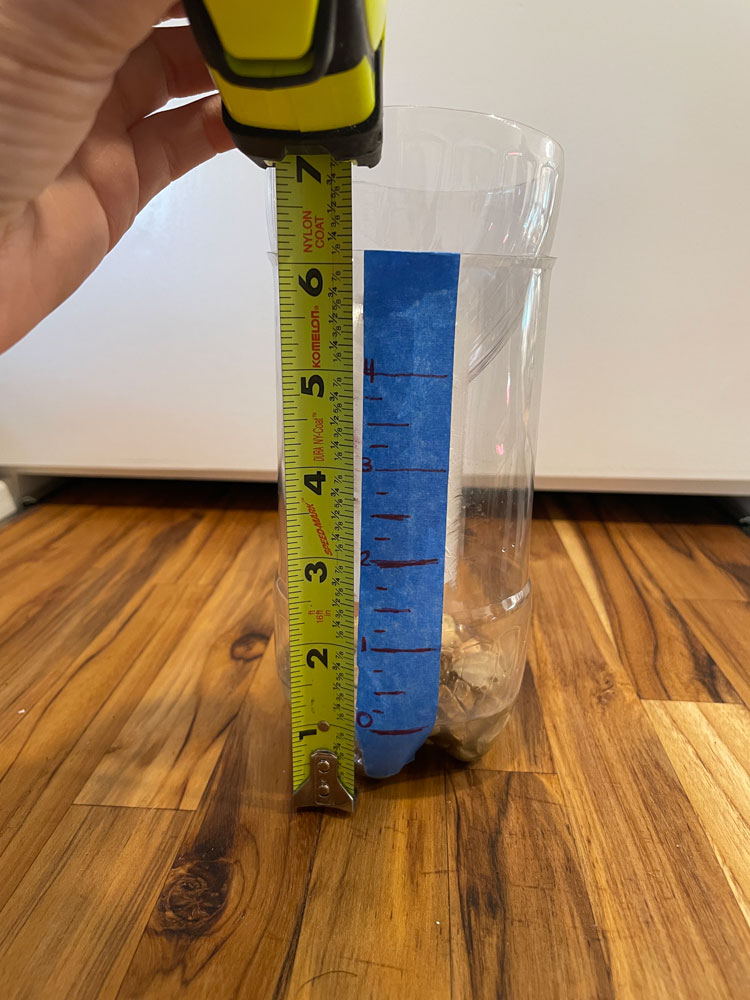
Put a strip of tape along the side of your bottle and use a ruler to place a mark that is 1 inch from the bottom of the bottle. Label this mark “0”.
Step 4
Place several small rocks in the bottom of the bottle (for weight), then fill the bottle with water to the 0 mark. This will calibrate your gauge.
Step 5
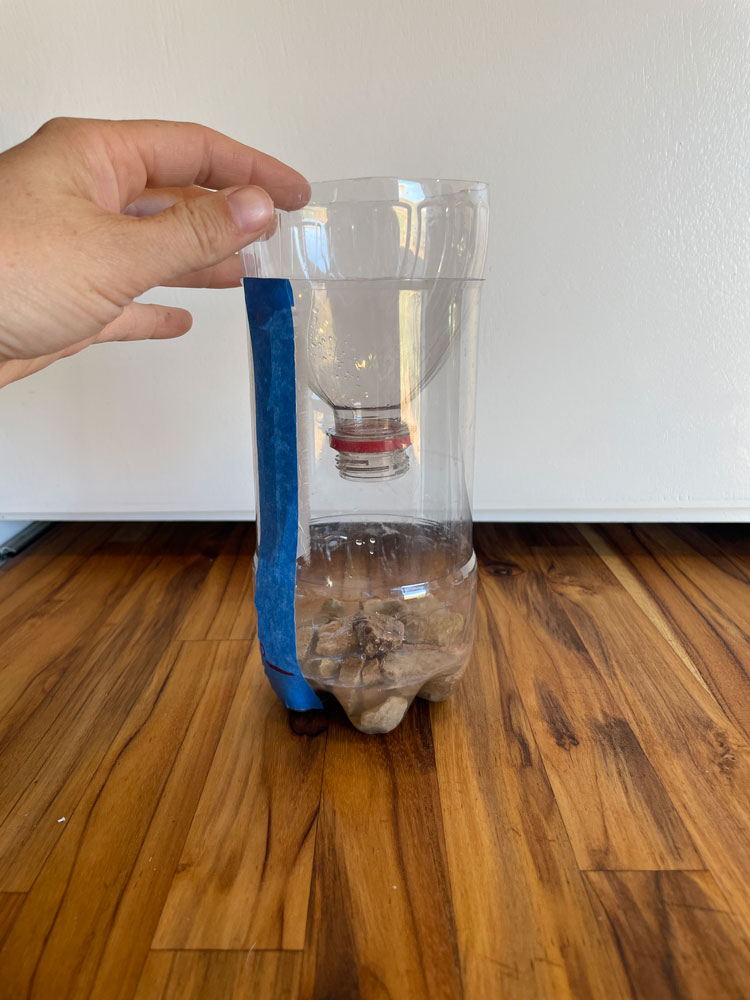
Take the top part of the bottle that you cut off and invert it into the bottom of the rain gauge to act as a funnel. You can use a few pieces of tape if needed to hold the funnel in place.
Step 6
Use your ruler and a marker to make measuring increments in inches along the rest of your bottle from “0” up to the neck of the funnel. Make the inch lines long and the 1/2-inch and 1/4-inch lines shorter, just like you would see on a ruler.
Step 7
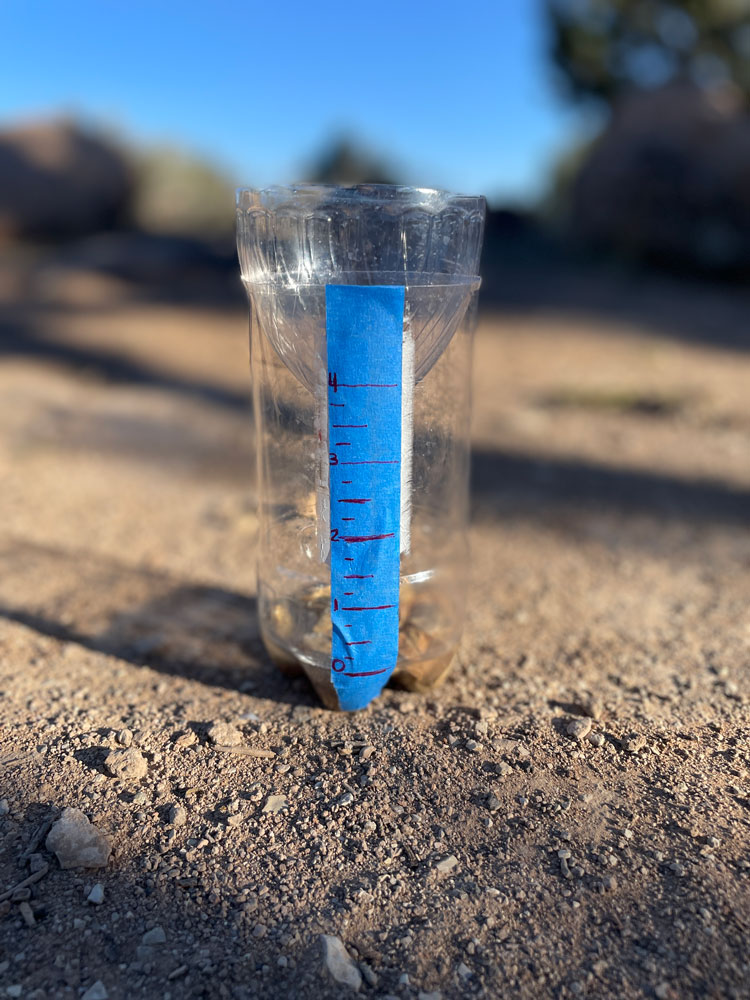
Place your rain gauge outside in an open area that is not obstructed by trees, roofs, or umbrellas. Make sure it is on a level surface and will not tip over.
Step 8
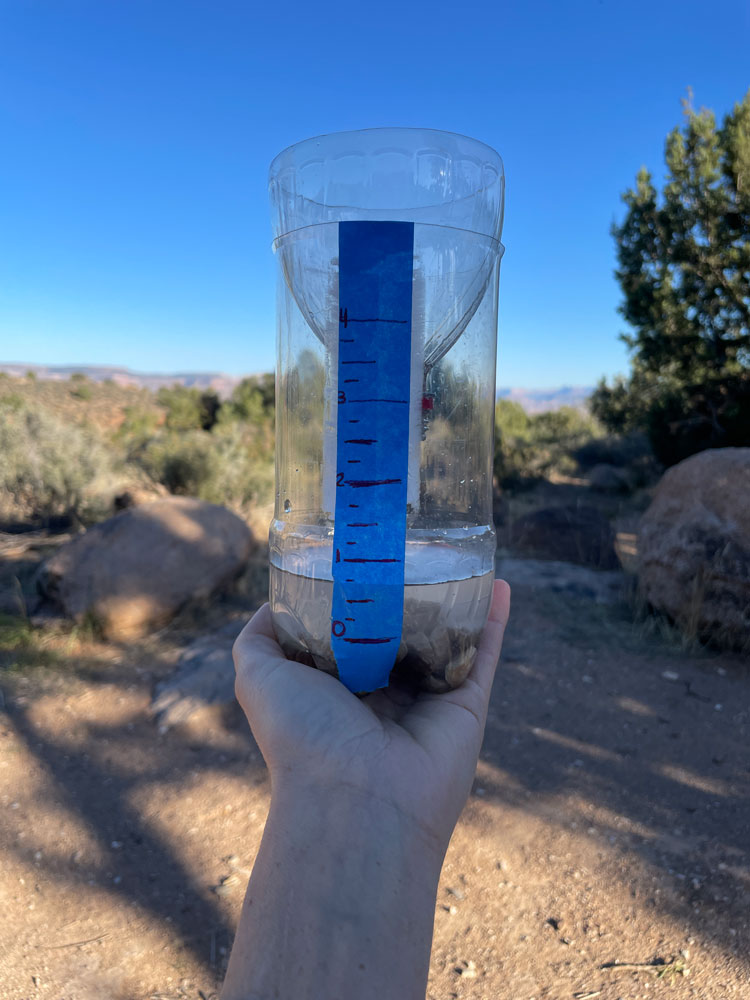
Start your experiment. Each day at the same time, check your rain gauge and write down the amount of precipitation accumulated. After taking your measurement for that 24-hour period, you will dump out the water, re-calibrate the gauge to 0, and place the gauge back outside for another 24 hours. At the end of the week, make a bar graph of your precipitation results with days on the X-axis and amount of rainfall on the Y-axis.
Conclusions:
Share Your Results
- Which day did it rain the most?
- Which day did it rain the least?
- What was the average amount of rainfall over the seven days that you recorded?
- How do your average rainfall results for the week compare to your local rainfall predictions for that same time period?
Extension:
Want to create your own at-home weather station? You’re going to need a few more instruments to make your weather station complete. Make your own homemade wind vane to track wind conditions, homemade anemometer to measure wind speeds, and place a thermometer outside or make your own homemade thermometer to keep track of daily temperatures.

")

Want to learn more about Community Solar?
Our solar specialists can provide a free consultation.
Get Started